Getting Started
Welcome to Softyflow, your all-in-one low-code platform to build, automate, and monitor business applications without writing code. Whether you're a business user designing internal tools, a product manager automating workflows, or a developer integrating with external systems, Softyflow adapts to your needs with both simplicity and power.
Learn more about core concepts and explore our tutorials to get started quickly.
Hosting & Deployment Options
Softyflow offers flexible deployment models to match your organization's infrastructure, security, and compliance needs. Learn more about deployment strategies:
Private Cloud (Single-Tenant)
- Dedicated infrastructure per customer
- Hosted in a managed private environment (e.g., AWS VPC)
- Enhanced control over security and performance
On-Premise
- Installed within your own data center
- Full control over hosting, compliance, and access
- Suitable for regulated industries (banking, healthcare, defense)
The Softyflow Platform
Softyflow is an all-in-one low-code platform to build, automate, deploy, and monitor business applications all from a single, unified workspace. Softyflow is the fastest way for business users, product owners, and developers to create customized internal tools for HR, Finance, Operations, Sales, and IT teams.
Get started with your first project setup.
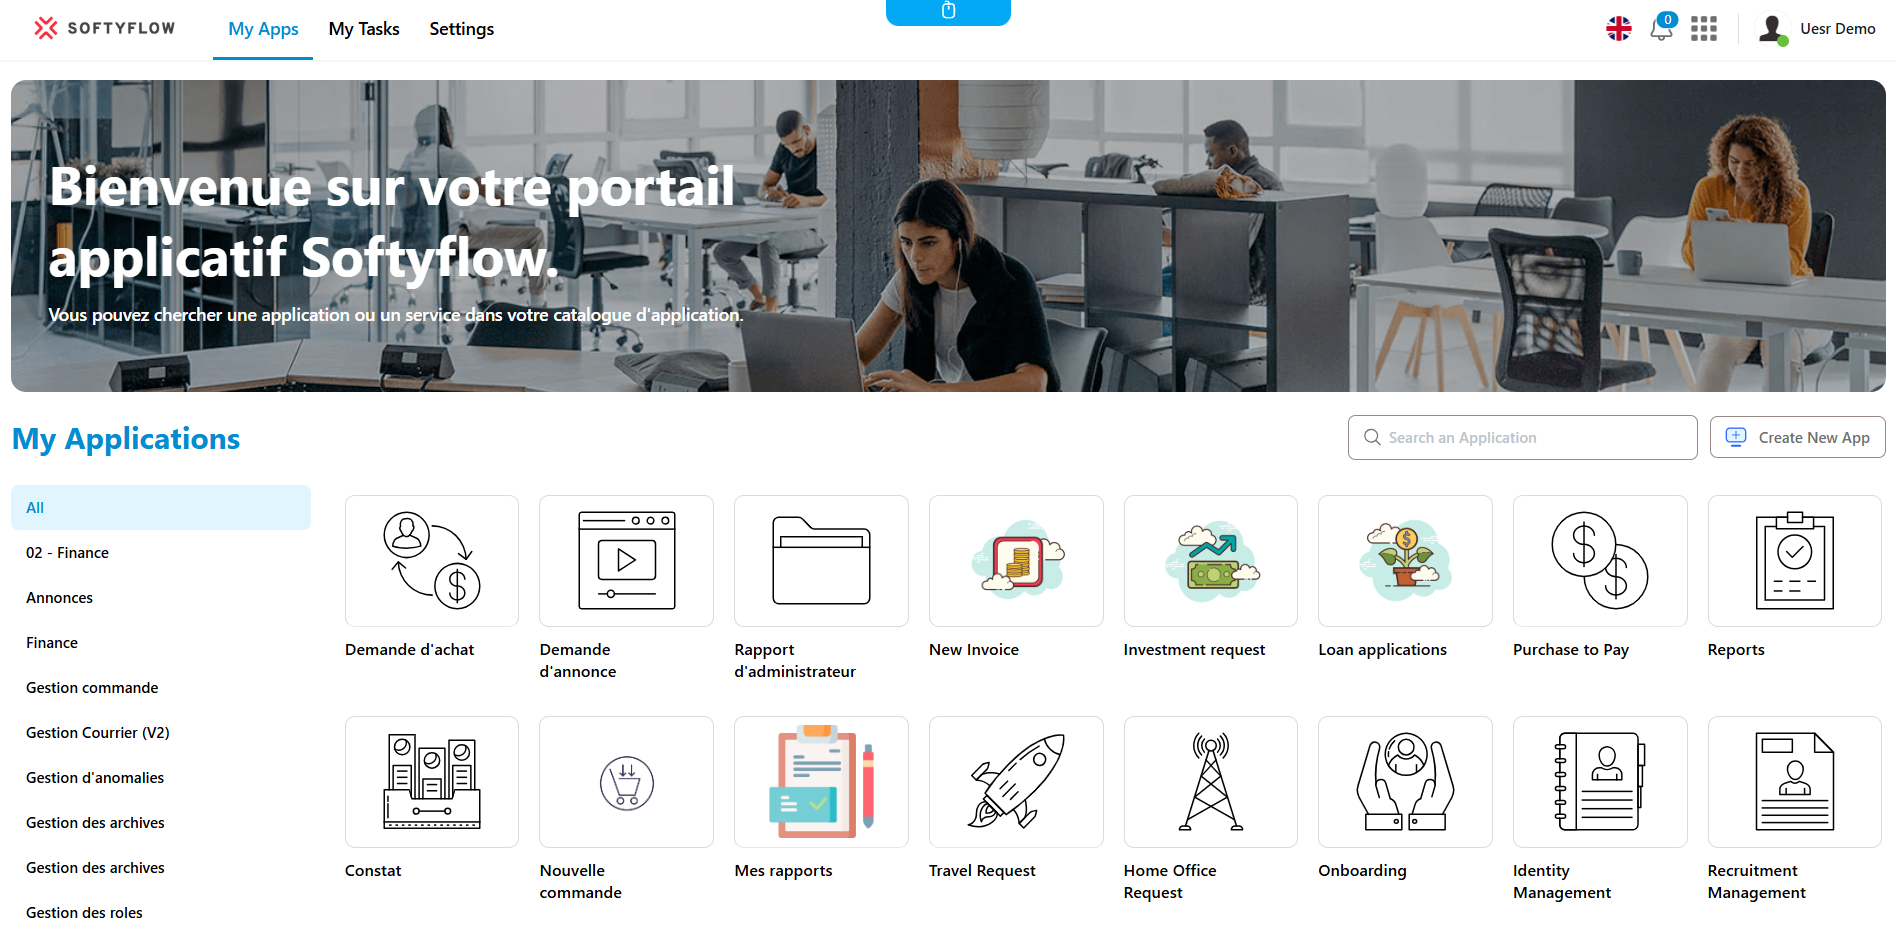
Build, automate, deploy, and monitor with Softyflow
Softyflow enables you to:
Connect to your data sources : Securely integrate with internal databases, REST APIs, SQL servers, and external systems. Learn about integration patterns.
Build intuitive user interfaces : Drag-and-drop visual editor to create forms, dashboards, and portals. Customize components through rules, scripts, or external data bindings. See our web interface design guide and explore available widgets.
Automate workflows : Design complex business processes using a BPMN modeler with manual tasks, decisions, timers, and integrations. Learn about process design and process components.
Manage data seamlessly : Store and organize business data with integrated MongoDB-based collections, accessible across forms and workflows.
Deploy with confidence : Version control, environment isolation (TEST, UAT, PROD), and safe publishing cycles. Read our test and deploy guide.
Monitor your operations : Track task instances, workflow performance, KPIs, and application error logs. Learn about monitoring and running your applications.
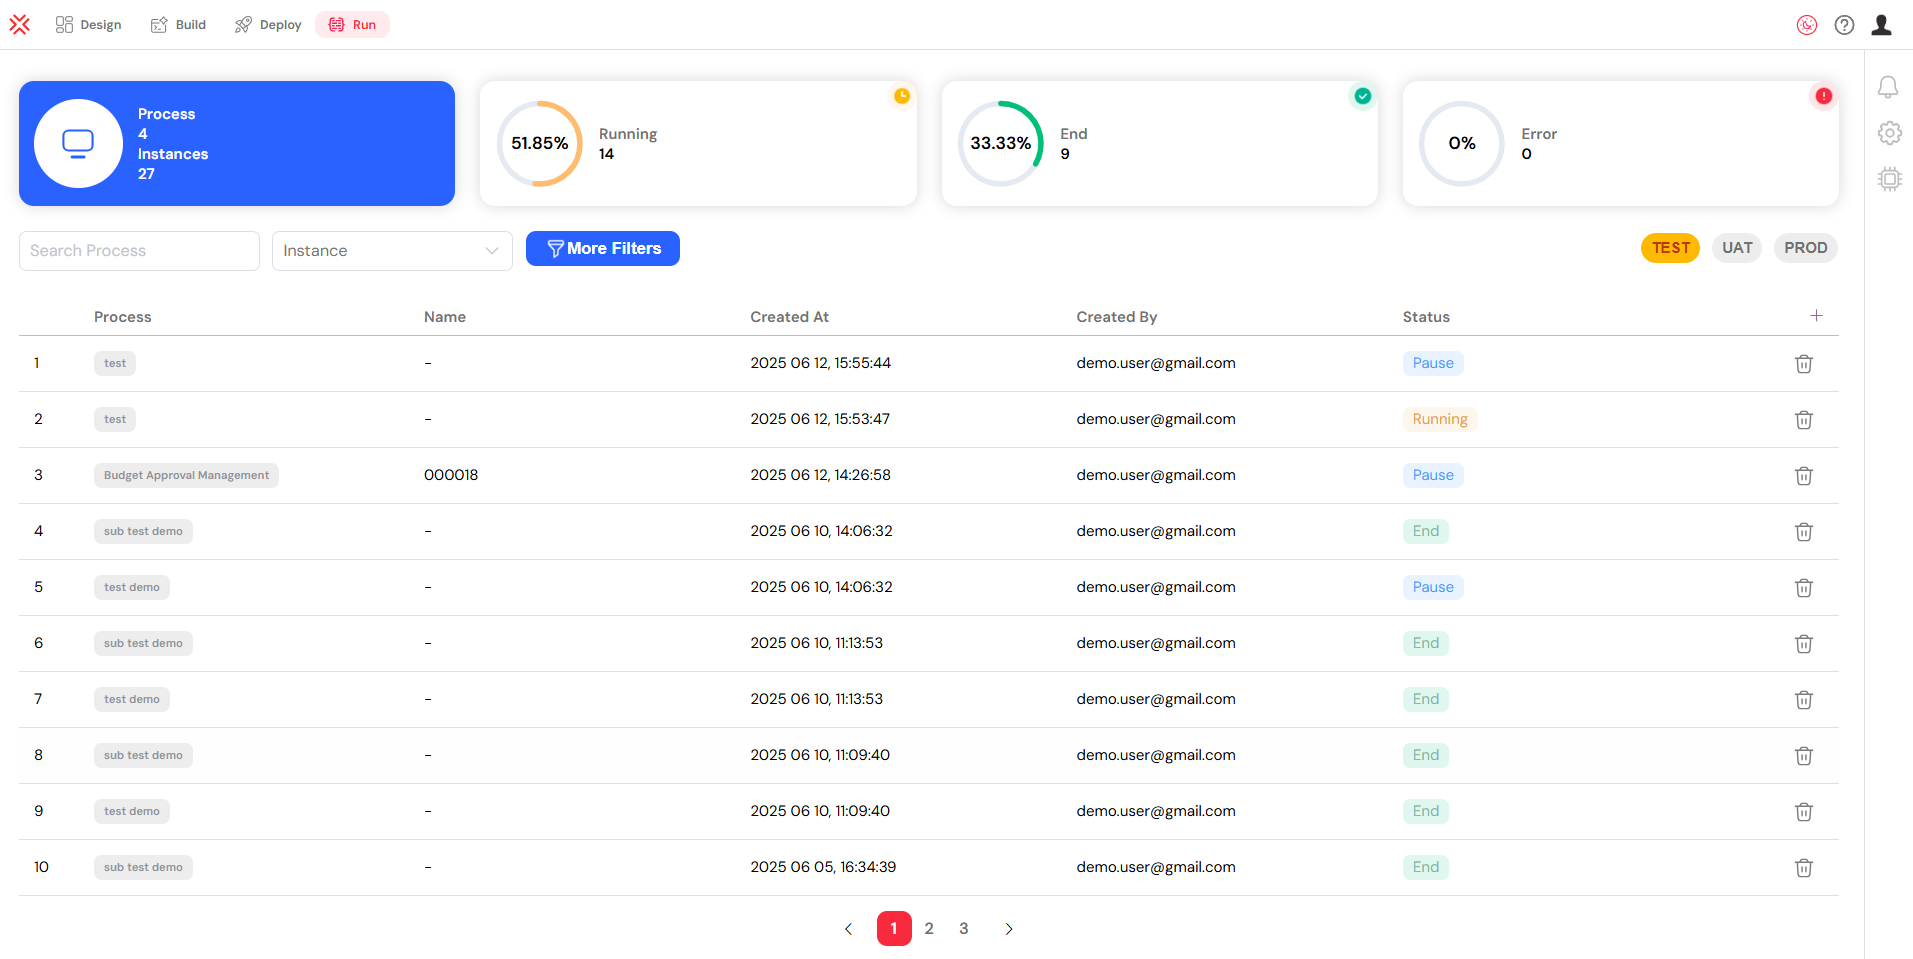
Connect to integrations
Softyflow supports a wide range of integrations, so you can easily connect your applications to your existing stack. Learn more about integration strategies and database connections:
Databases : MongoDB, MySQL, PostgreSQL, SQL Server, Snowflake
External APIs : REST, GraphQL, OAuth2-secured endpoints. See our APIs documentation
Authentication providers : LDAP, SAML, OAuth2. Learn about authentication setup
Mail services : Gmail, Outlook, Mailgun, SMTP-based providers. Configure mail settings
All integrations can be environment-specific and secured with token management and granular access control.
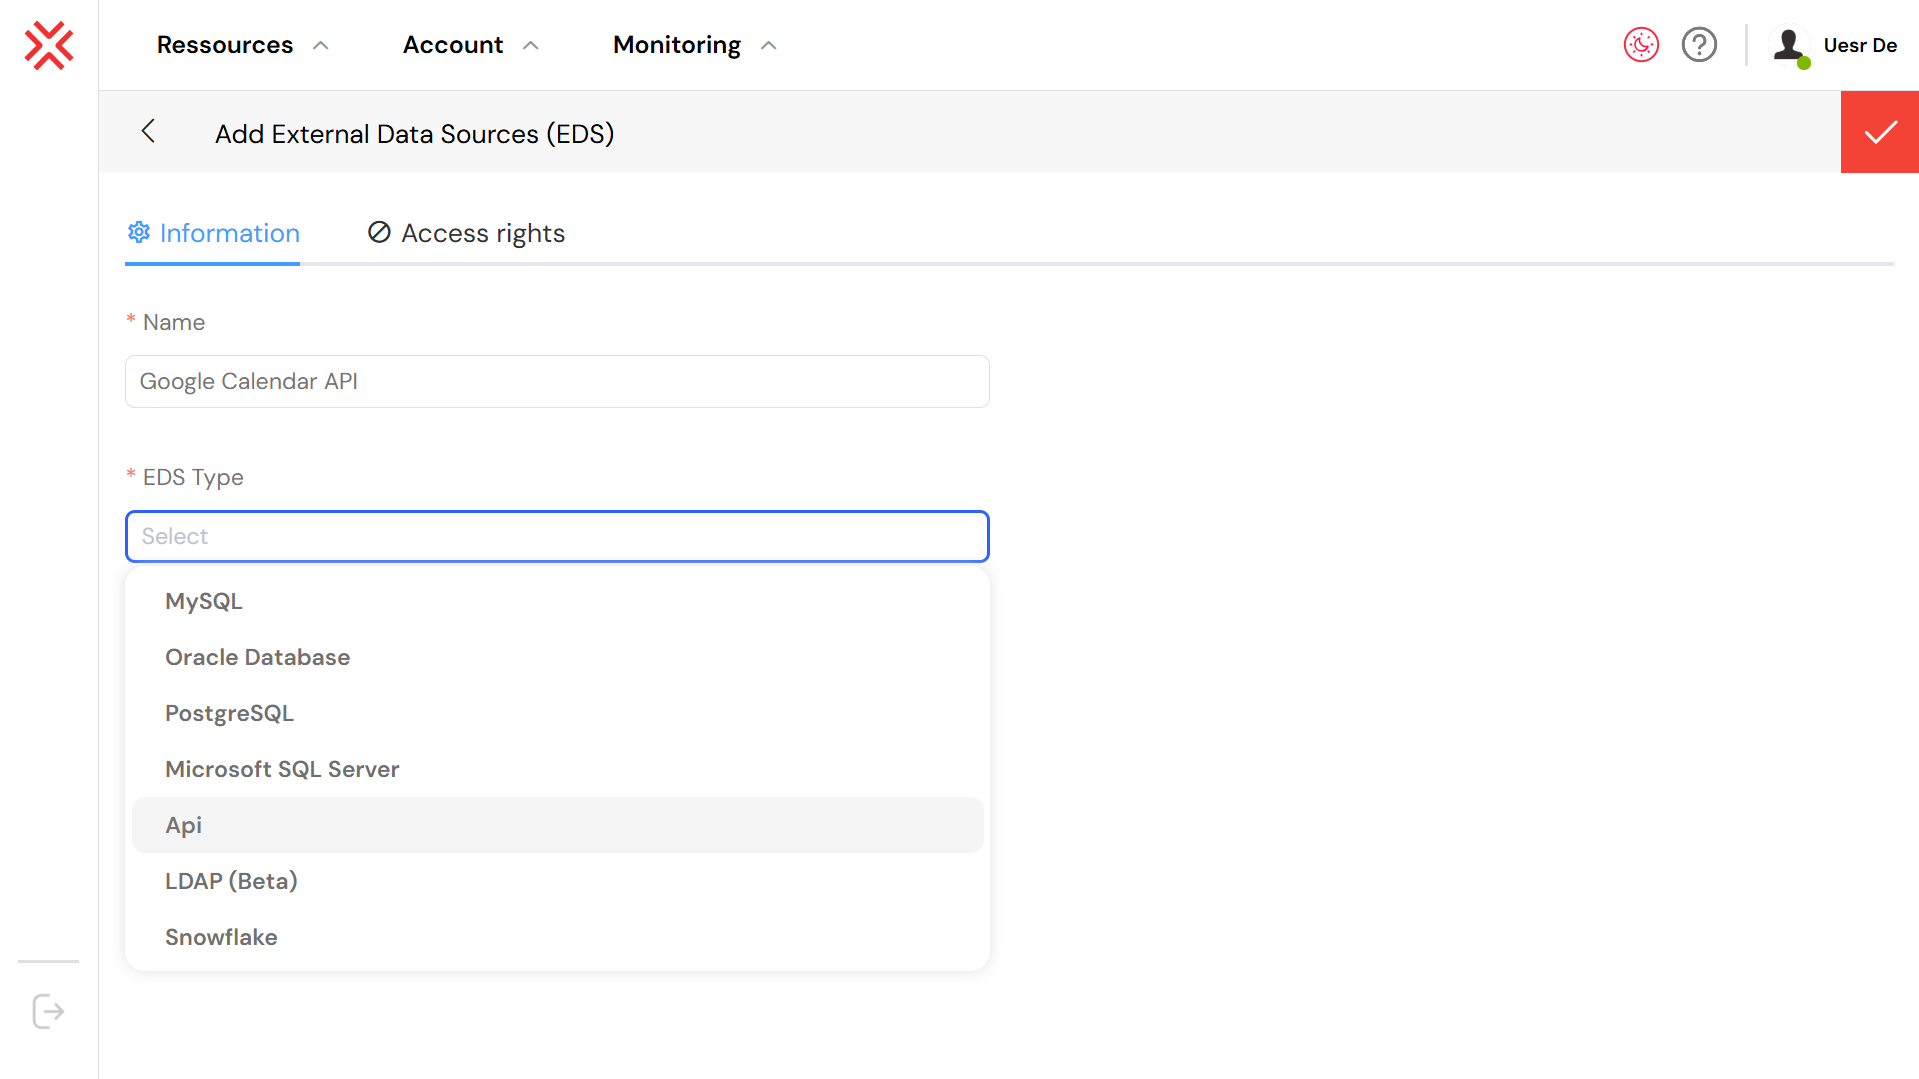
Build dynamic user interfaces
Design modern, responsive user interfaces with our web interface design tools and web modeler:
Tables, forms, grids, charts, images, and embedded reports
Drag-and-drop widget configuration
Rule-based dynamic behaviors and visibility conditions
JavaScript extensions for advanced customization with our SDK and web modeler SDK
Reusable components with shared styling and metadata-driven logic
You can also import and reuse Custom Lists and Collections to accelerate form creation.
Explore our comprehensive widget library:
- Buttons, Forms, Tables
- Input fields, Text areas, Selects
- Charts, Grids, Tabs
- Date pickers, Time inputs, Sliders
- File uploads, PDF viewers, Signatures

Create and launch powerful APIs
You can define internal APIs directly from the platform using our APIs features:
Create API endpoints by orchestrating database queries, external service calls, or workflow triggers
Use APIs to drive dynamic UI behavior, automate third-party integrations, or expose internal operations securely
Test and monitor API usage through the Softyflow console
Every API can be linked to specific user actions, workflows, or scheduled events with our scheduling system.
Create and Launch Powerful APIs
You can define and manage internal APIs directly within Softyflow to orchestrate data operations, connect to external systems, or trigger internal workflows. See our APIs documentation for detailed examples.
Create API endpoints by combining database queries, external service calls, and process logic
Drive dynamic UI behavior and automate third-party integrations
Test and monitor usage directly in the API console
Error Handling and Reliability
To improve reliability and observability, you can configure:
Retry logic for failed API calls, with customizable retry count and delay
Fallback scenarios such as default values, backup endpoints, or manual escalation
Execution logs visible from the interface, including response codes, payloads, and failure reasons. Learn about log management
Status tracking, so you can monitor each call's outcome, duration, and usage over time
These features help ensure consistent behavior, faster debugging, and better control over integrations in production.
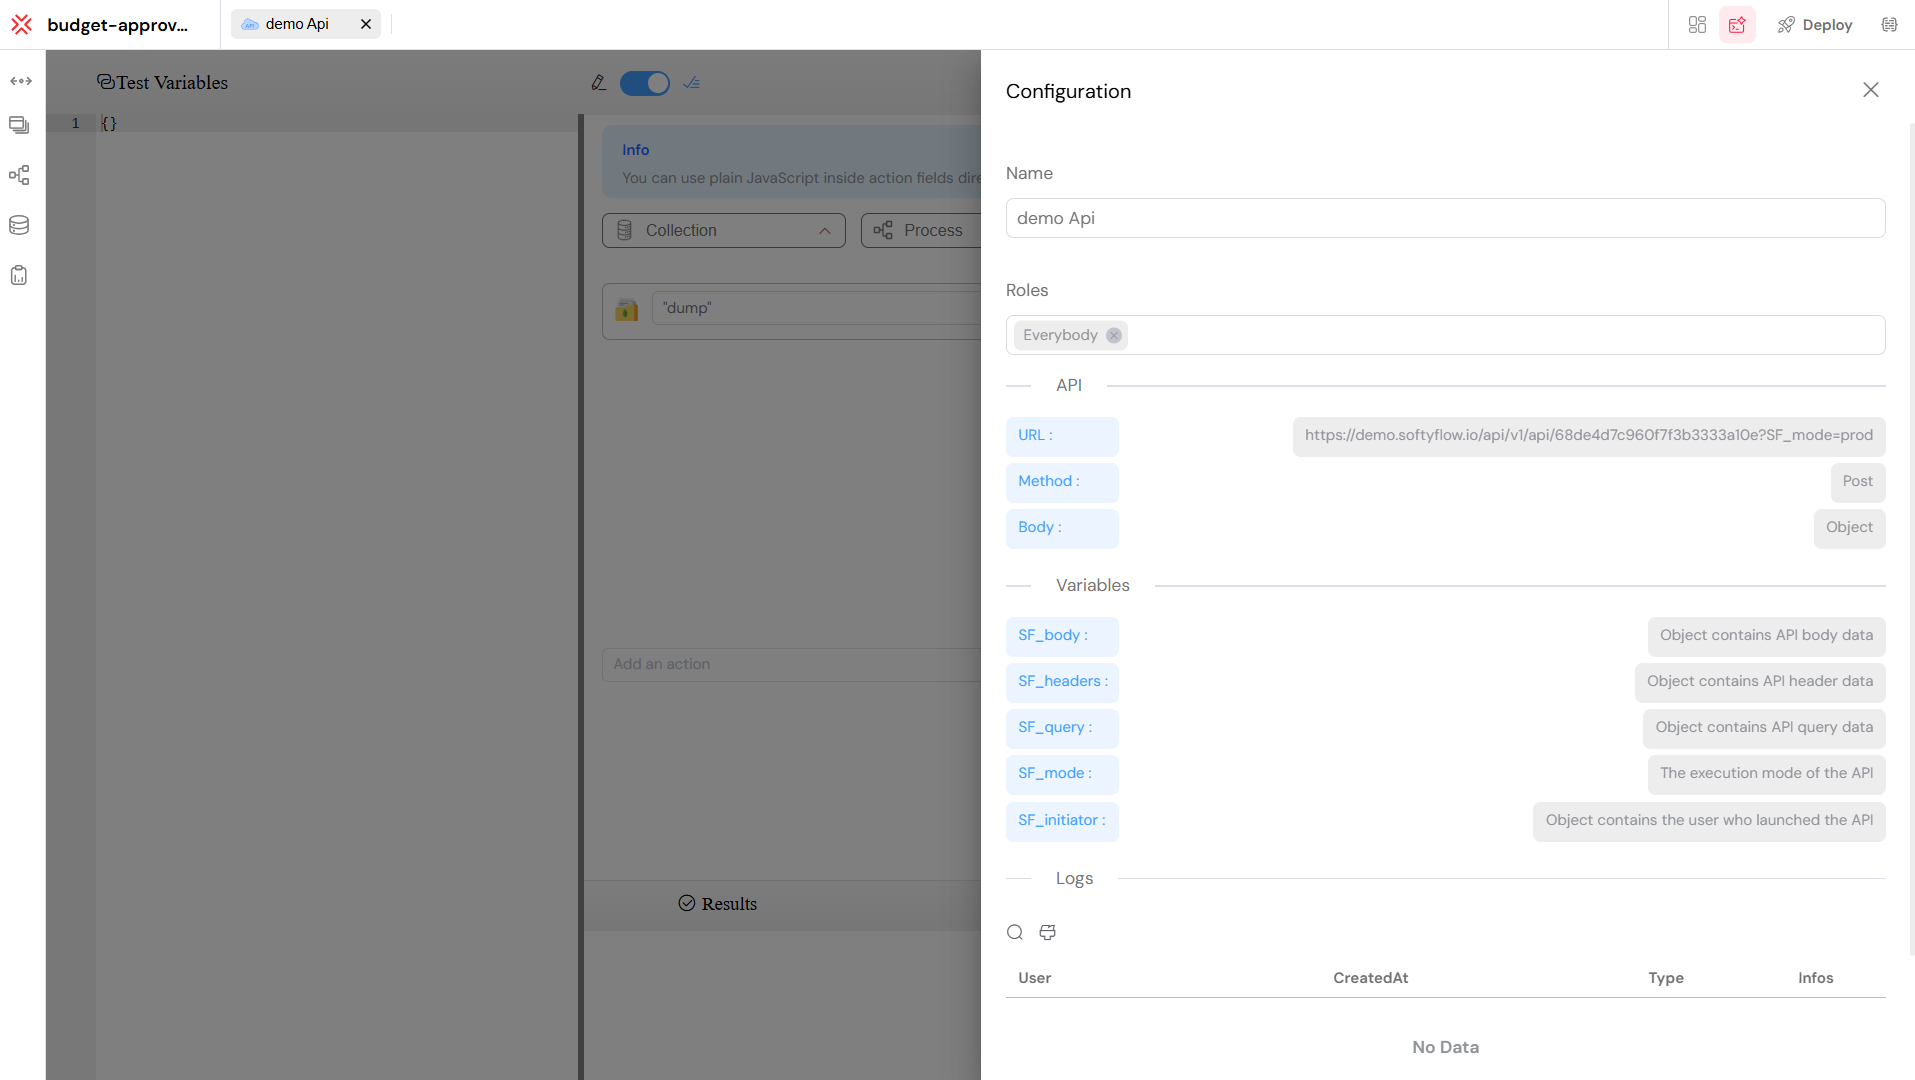
Automate workflows
Use the visual process modeler to design business workflows that combine human tasks, system logic, and external integrations. Learn more about process design and explore process components.
You can define approval flows, assign tasks based on roles or metadata, and automate actions such as escalations, reminders, or data updates. Workflows support both manual triggers (from a form or button) and automated execution (via timers, API calls, or webhooks). Each process can include:
Conditional logic and decision branches
Process variables to carry data between steps with input/output configurations
Integration steps to call APIs or update external systems
Delegation rules and SLA-based escalations
Sub-processes for complex workflow organization
Measures and KPIs for performance tracking
This lets you model even complex business logic without writing backend code. Watch our process tutorial videos to see workflows in action.

Deploy and manage environments
You can manage your application lifecycle safely and progressively across isolated environments with our test and deploy features:
TEST for technical validation
UAT for user acceptance
PROD for live operations
Each environment can have its own configuration including API keys, authentication, metadata, and permissions so you can test confidently before releasing to end users.
Key Capabilities
Promote forms, workflows, and reports across environments
Track every version and roll back if needed
Manage API keys and environment-specific variables in settings
Ensure separation of test and production data
Monitor changes with full traceability and audit logs
Example: From Draft to Production
Let's say you're building a new Leave Request feature:
- Design & Test (TEST Environment)
Create the form using our web interface tools and workflow with the process modeler
Simulate approval steps, validate the fields and logic
Use test accounts to verify that task assignments and process variables behave correctly
- Validate in UAT
Promote the validated draft to the UAT environment
Ask HR users to test with real scenarios
Collect feedback and apply final updates
Confirm email notifications, access permissions, and API calls function as expected
- Release to PROD
Deploy the approved version to production
All changes are versioned and reversible
If issues arise, roll back instantly to a previous working version
This approach helps you deliver high-quality apps with minimal risk and full control. Learn more about monitoring and running your applications.

Access control and security
You can manage access to your applications and data with precision using role-based rules, environment-level permissions, and secure authentication methods. Learn about user management, role management, and authentication.
Role-Based Access Control (RBAC)
With RBAC, you define who can see and do what in each part of your workspace:
Assign roles to users that determine their permissions across forms, processes, APIs, and reports
Grant or restrict access to UI components, actions, or data based on roles
Define environment-specific roles for example, give edit access in TEST but read-only access in PROD
Use roles to control sensitive operations like API creation, workflow deployment, or data export
You can create custom roles, map them to user groups, and combine them with metadata filters for dynamic access control.
Additional Security Layers
Environment-specific permissions: Control access separately for TEST, UAT, and PROD
Authentication providers: Connect to your SSO system using OAuth2, LDAP, or SAML with our authentication setup
Field-level security: Show or hide fields dynamically based on roles or metadata
Delegation: Temporarily pass responsibilities to another user in case of absence
Metadata filters: Restrict visibility of forms, processes, or data using user attributes (e.g., department, region)
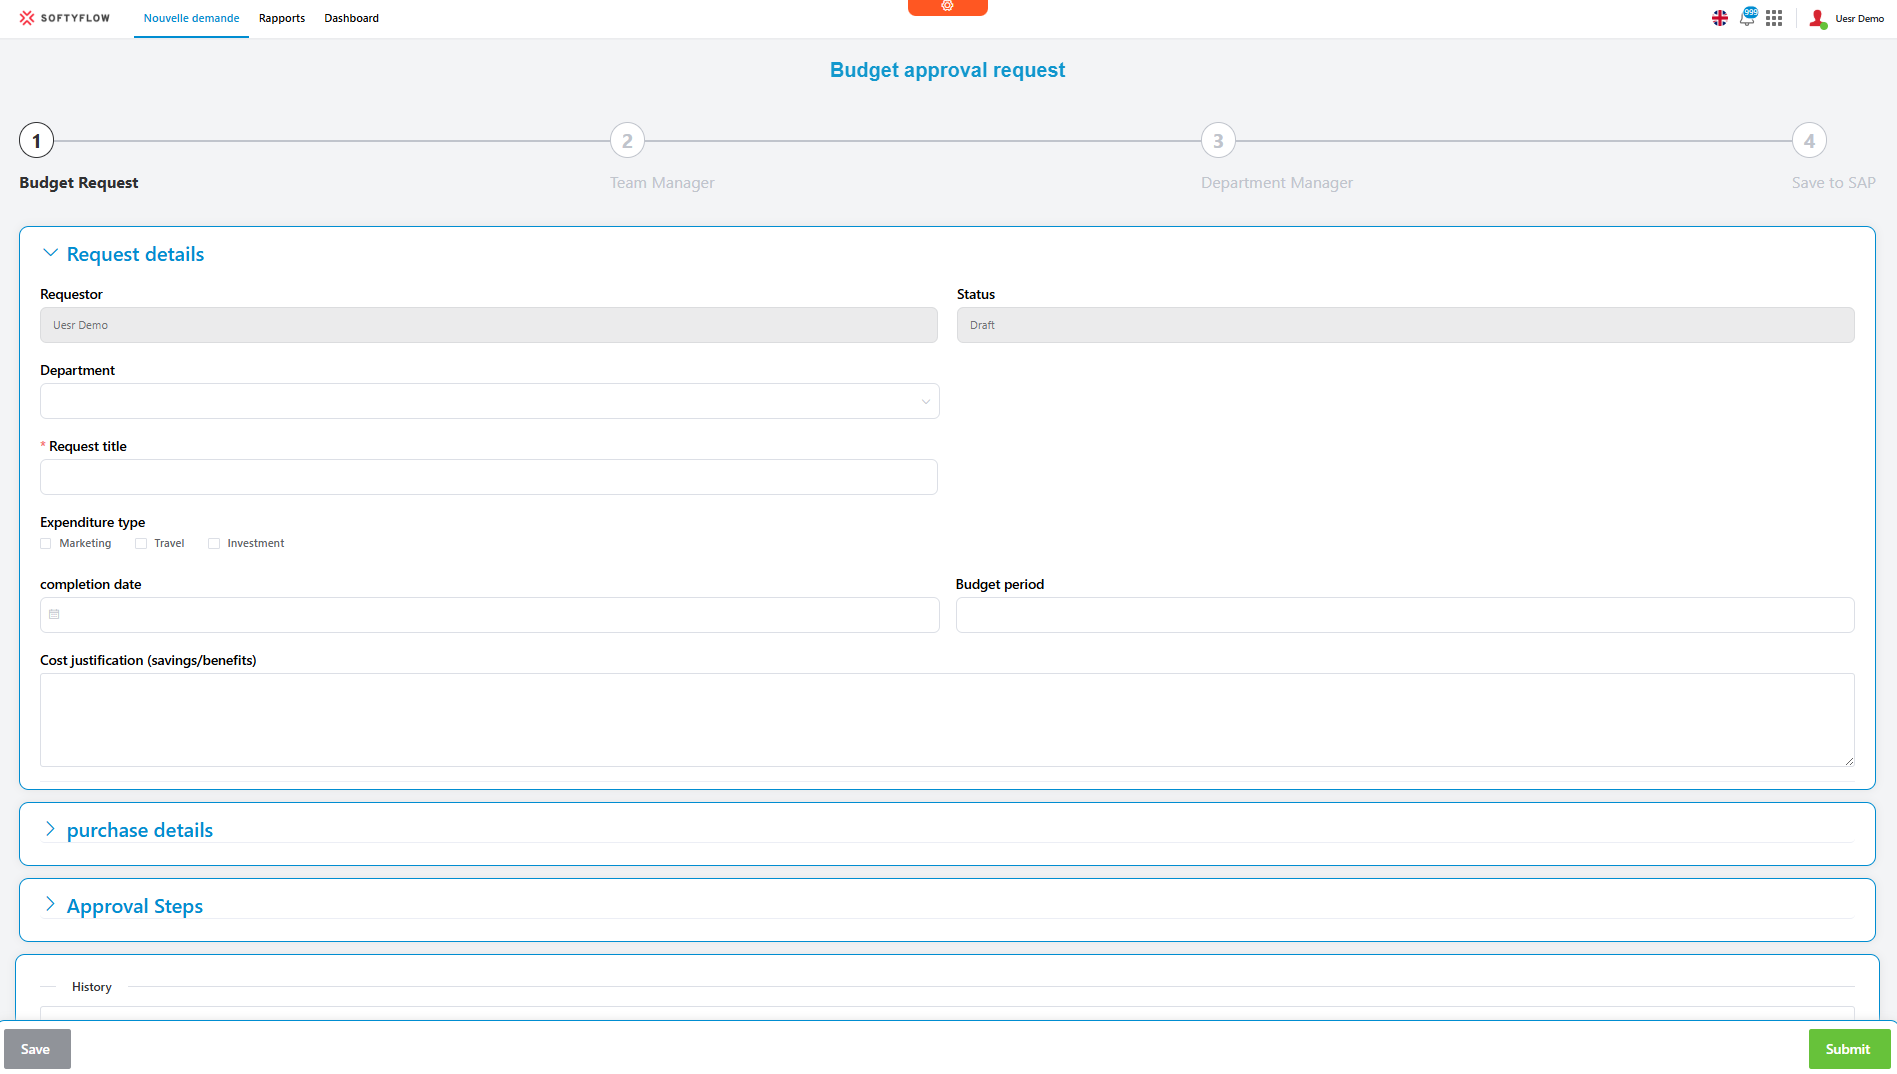
You also benefit from full traceability of actions thanks to detailed audit logs and version history, helping you stay compliant with both internal policies and external regulations.
Audit logs and monitoring
You can track and monitor everything that happens across your Softyflow environment — from form submissions to workflow executions — to ensure full transparency and traceability. Learn more about log management and monitoring.
What's Tracked
User actions (form submissions, task approvals, deployments)
API calls (including inputs, outputs, status codes)
Workflow executions and scheduled jobs
Changes made to forms, processes, reports, or settings
Where to View Logs
Activity logs are accessible in the Monitoring Console via the Run section of the platform
Each workflow, task, or API call includes a detailed log tab with:
-Execution status (success/failure)
-Timestamps
-Triggering user or system
-Input/output payloads
-Error messages (if any)
You can filter logs by environment (TEST, UAT, PROD) and export them as JSON or CSV for external analysis or auditing.
External Monitoring
You can enable integrations with observability tools like Datadog, New Relic, or Splunk
Export logs in real-time via webhooks or periodic batch exports
Use these tools for alerting, dashboarding, and SLA monitoring
This visibility helps you detect anomalies early, meet compliance requirements, and streamline debugging across teams.

Version control and deployment history
You can manage and trace every change made to your applications with built-in version control for:
User Forms created with our web interface design tools
Processes built with the process modeler
Collections and APIs
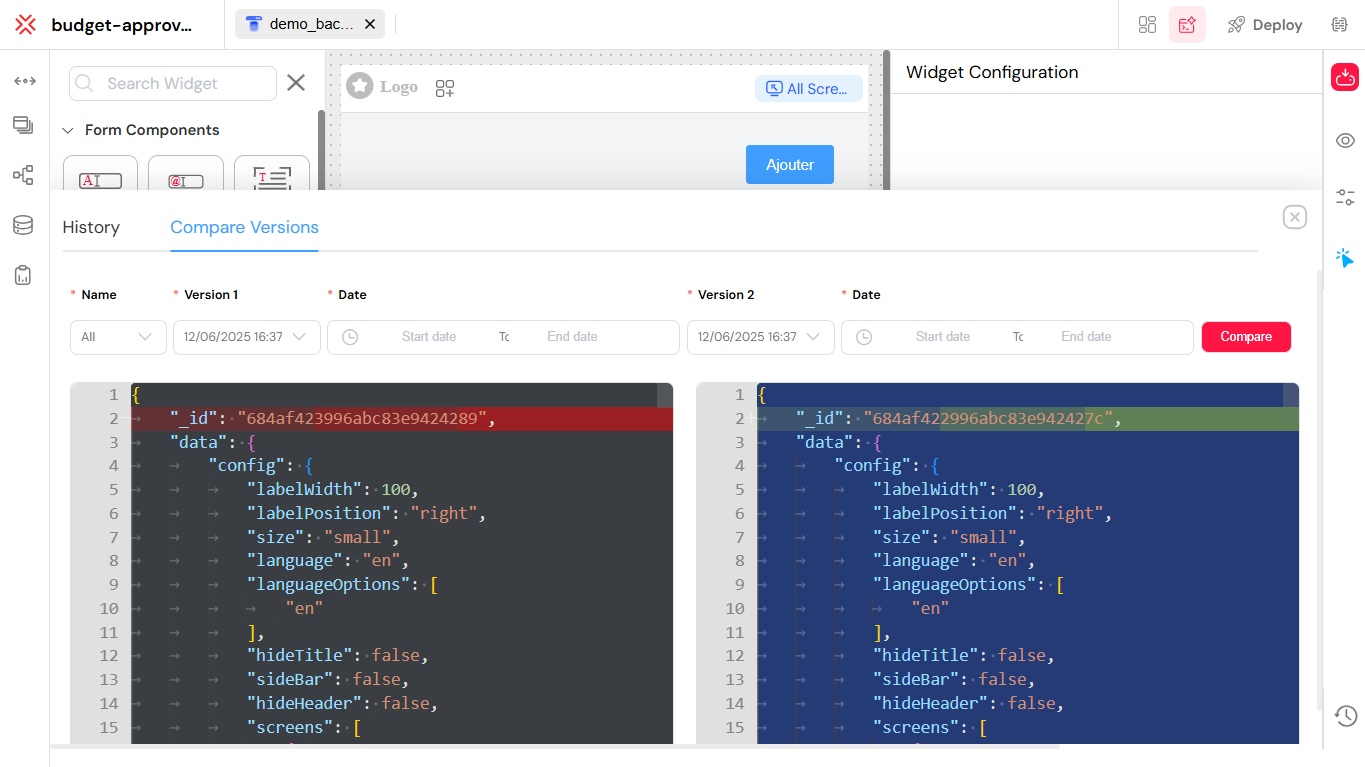
You can easily compare versions, tag releases, roll back in case of issues, and maintain full deployment traceability.
Each time you modify and save a component, a new version is automatically created. You can:
View change history by date, user, and environment
Compare current and previous versions side by side
Tag and label releases for better organization
Roll back to a stable version at any time if an issue is detected
How to Deploy a New Version
Make changes in the TEST or UAT environment following our test and deploy guide
Save and review the new version in the editor
Tag the version if needed (e.g., "Release 1.4")
Promote to PROD using the "Deploy" action
Track deployment logs to ensure the rollout went smoothly
Rollback at Any Time
If something breaks after deployment:
Go to the version history of the affected item
Select a previous stable version
Click "Restore" to immediately roll back
Confirm the rollback is applied in the PROD environment
All rollbacks are logged and auditable, ensuring accountability and safe recovery without downtime. Learn more about monitoring and running your applications.
Next Steps
Ready to dive deeper? Explore these resources:
- Core Concepts - Understand the fundamental principles behind Softyflow
- Tutorials - Follow step-by-step guides to build your first applications
- Project Setup - Get your development environment ready
- Web Interface Design - Learn to create beautiful, responsive interfaces
- Process Design - Master workflow automation with BPMN
- Video Tutorials - Watch our comprehensive video guides
For technical references, check out our SDK documentation, Web Modeler SDK, and Node.js integration guide.
Stay up to date with the latest features in our release notes.