Test & Deploy Guide
This guide covers the complete testing and deployment workflow in Softyflow, including running tests and managing versions across different environments.
Before testing and deploying, ensure you've built your application components: web interfaces, processes, database integrations, external integrations, and reports.
1. Testing Your Application
Softyflow provides multiple ways to test your application components:
1.1. Component-Level Testing
- UI Testing: Test individual user interfaces in isolation
- Process Testing: Execute workflows step-by-step to validate business logic
- API Testing: Verify API endpoints and data flow
- Report Testing: Validate report generation and data accuracy
1.2. Integration Testing
- Test complete workflows from UI to backend processes
- Validate data flow between different components
- Ensure proper integration between APIs and databases
1.3. Real-Time Process Testing Example
To illustrate the testing process, let's walk through a real-time test of a process workflow. This example demonstrates how to initiate a process, monitor its execution, and inspect the results.
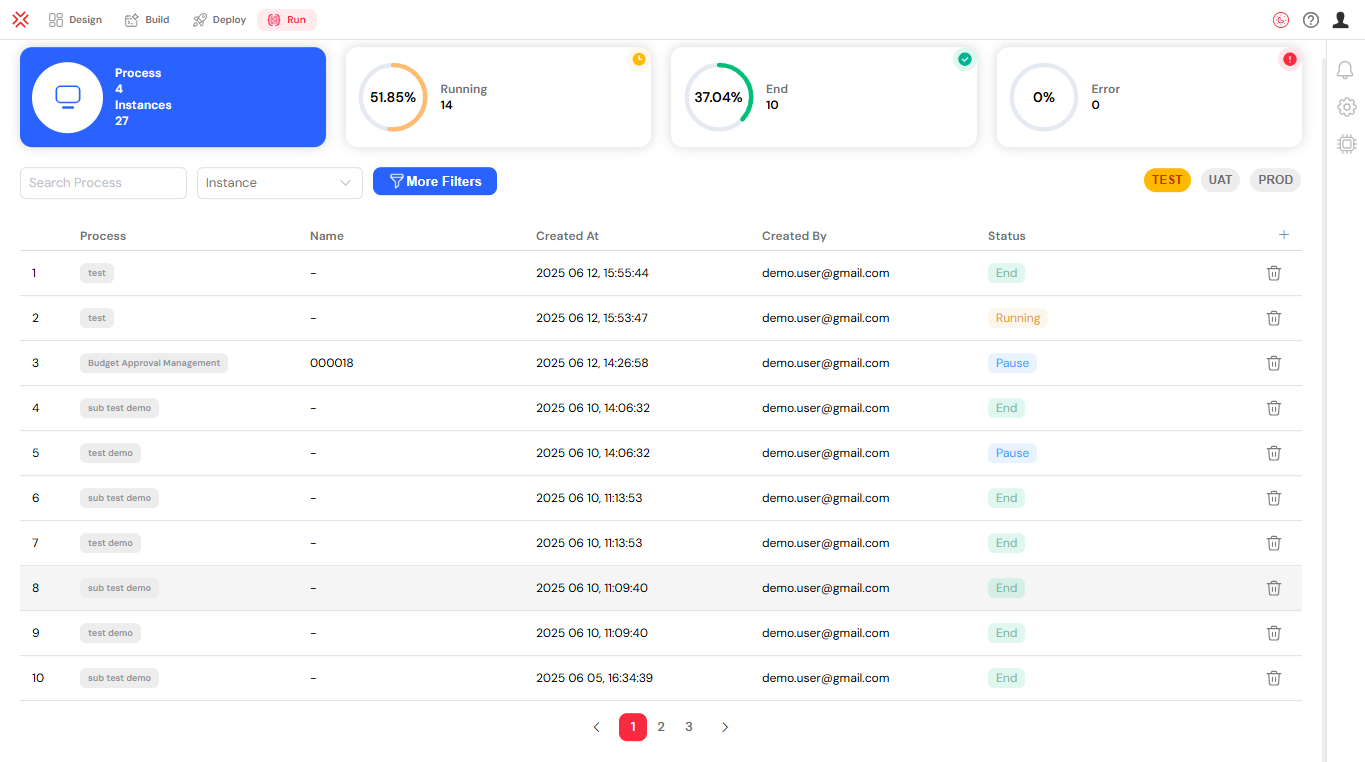
The following image shows the "Start Process" interface, where you can select a process and start a new instance for testing. The main panel displays the list of available processes, and the start Process button in the top-right corner is used to trigger the selected workflow.
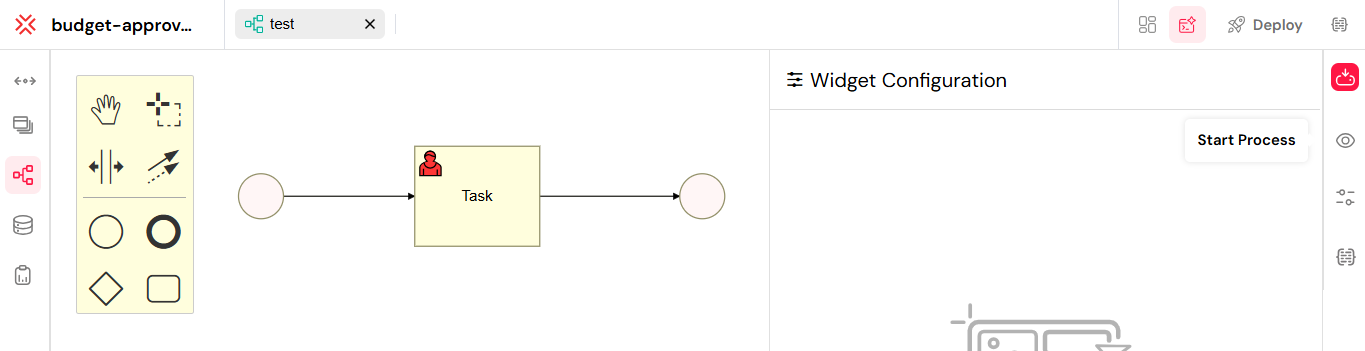
Initiating a new process instance for testing.
After starting the process, you can monitor its execution in the "Instances" tab. This view provides a detailed log of each step, showing the sequence of events, their status, and the data involved. It is essential for debugging and verifying the workflow's logic.
Monitoring process execution and viewing instance logs.
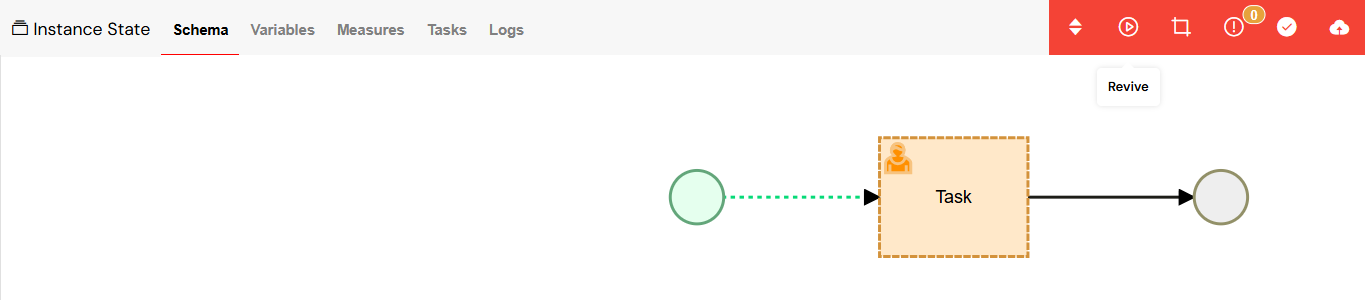
The "User Tasks" section displays any tasks that require manual intervention. This allows you to interact with the process, fill out forms, and move the workflow forward, simulating real-world user actions.

Viewing and managing user tasks during workflow execution.
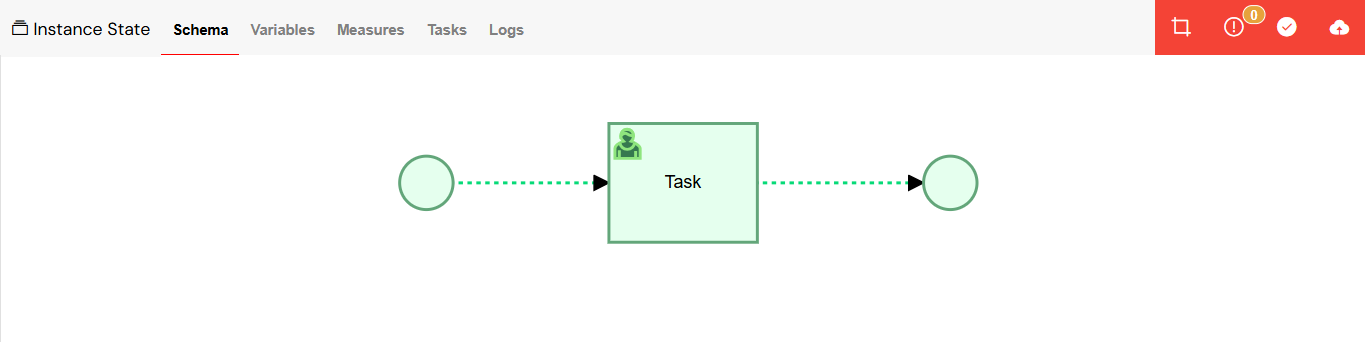
From the "Instances" view, you can access detailed information about a specific workflow instance. This includes its current status, start and end times, and any associated data, providing a complete overview of its execution.
Accessing detailed information for a specific workflow instance.
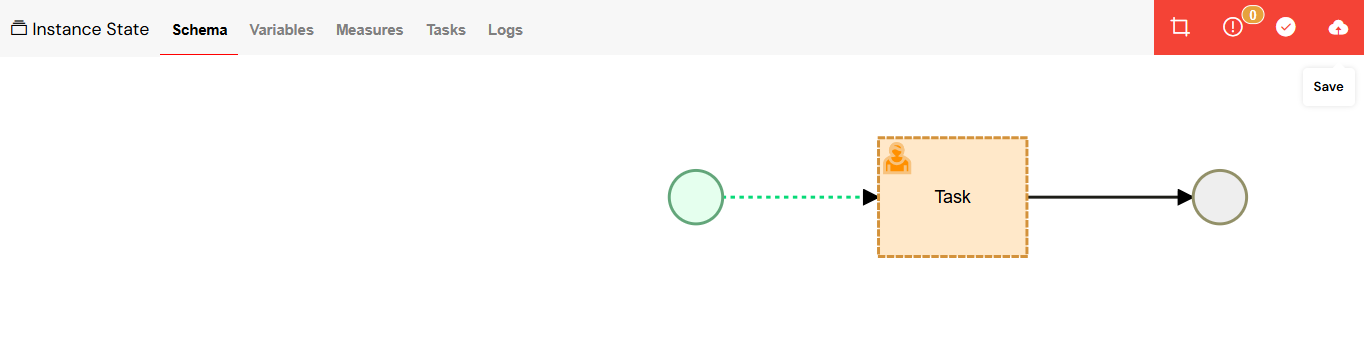
The Flow tab offers a visual representation of the process, highlighting the path taken by the current instance. This graphical view helps identify bottlenecks, errors, or unexpected deviations from the designed workflow.
Visualizing the workflow path in the Flow tab.
Finally, the Data allows you to inspect all variables and their values at any point in the process. This is crucial for debugging data-related issues and ensuring that information is being correctly processed and transformed throughout the workflow.
2. Version Management System
Softyflow implements a comprehensive version management system that tracks every change across all application components.
2.1. Version Schema Structure
The version schema in Softyflow is designed to provide a clear and organized structure for managing application versions. It includes details such as the version name, creation date, environment, and the user who created it, ensuring full traceability.
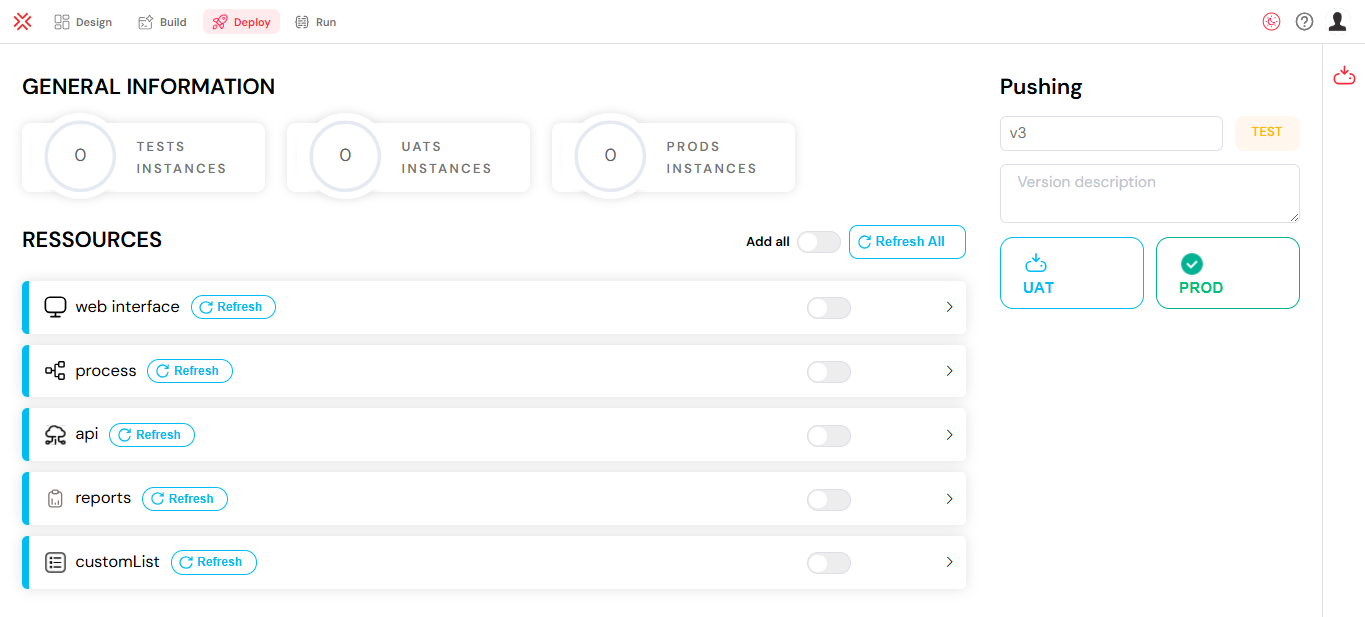
Diagram of the version schema structure.
2.2. Creating and Managing Versions
2.2.1. Version Creation Process
The main interface for version management allows you to view, create, and manage all application versions. The screen displays a list of existing versions with their status, environment, and other relevant details. From here, you can initiate the creation of a new version by clicking the "Add" button.
Interface for creating and managing application versions.
2.2.2. Resource Selection and Versioning
When creating a new version, the system allows for granular control over which components to include. You can select specific versions of UIs, APIs, processes, reports, and other resources. The interface also provides bulk operations, such as adding all resources at once or refreshing them to their latest available versions. This flexibility is key to building stable and consistent deployment packages.
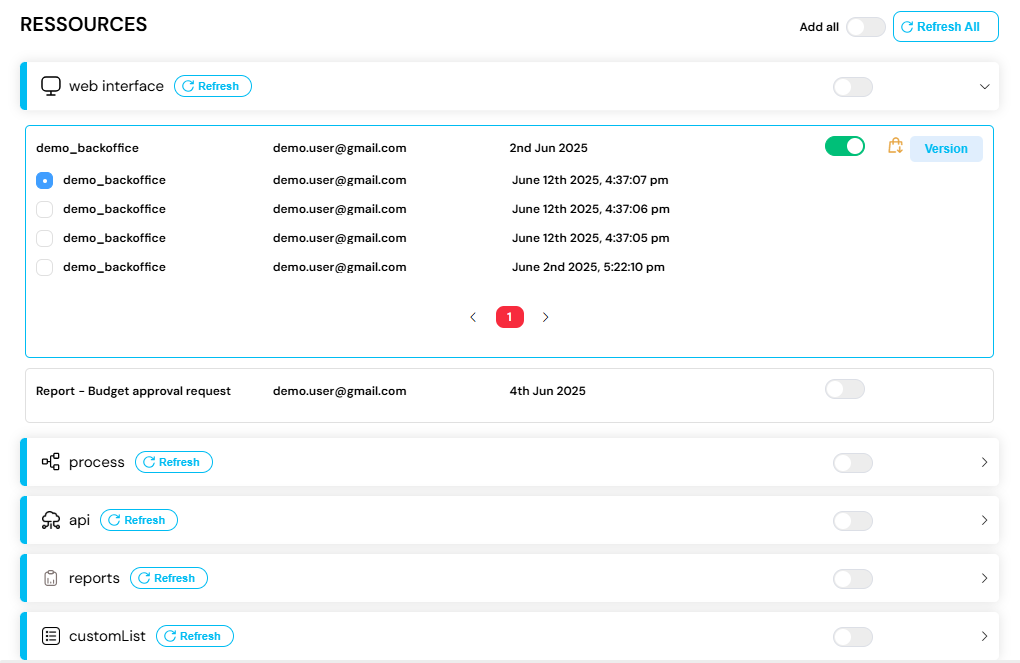
Interface for selecting and versioning project resources.
3. Environment Management: TEST, UAT, PROD
Softyflow supports three distinct environments to facilitate a structured and safe deployment pipeline.
3.1. Environment Hierarchy
The standard promotion path for a version is from the development environment to the final production environment.
TEST → UAT → PROD
3.2. TEST Environment
Purpose: Development and initial testing.
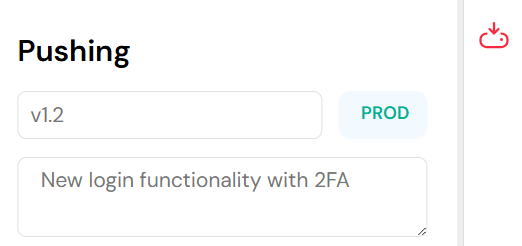
The TEST environment is where developers build and perform initial tests. It offers full editing capabilities for rapid iteration. The image below shows the "Add Version" modal, where a new version is being created specifically for the TEST environment. This is the first step in the deployment lifecycle.
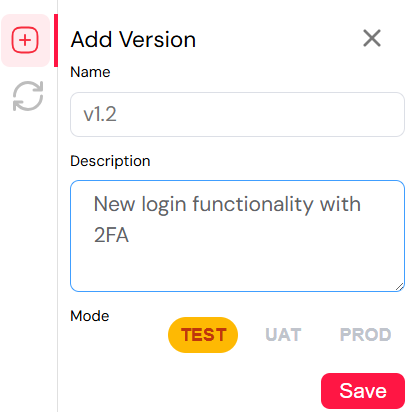
Creating a new version for the TEST environment.
3.3. UAT Environment (User Acceptance Testing)
Purpose: Business user testing and validation.
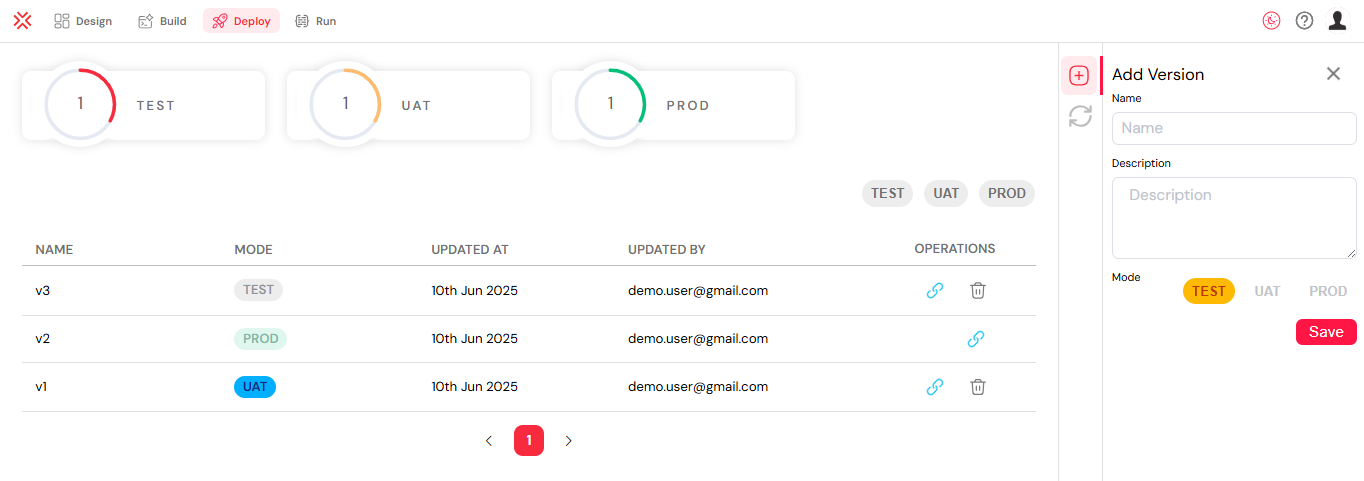
Once a version is stable in TEST, it can be promoted to the UAT environment. This environment is intended for business users to validate functionality before it goes live. The promotion process is initiated from the version management screen, as shown below.
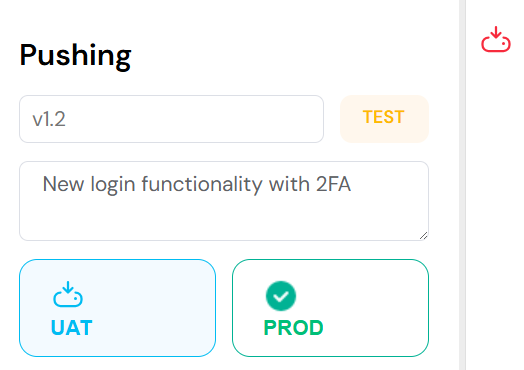
Selecting a version to push to the UAT environment.
A confirmation dialog appears, ensuring the action is intentional. This step is critical for maintaining control over the deployment pipeline and preventing accidental promotions.
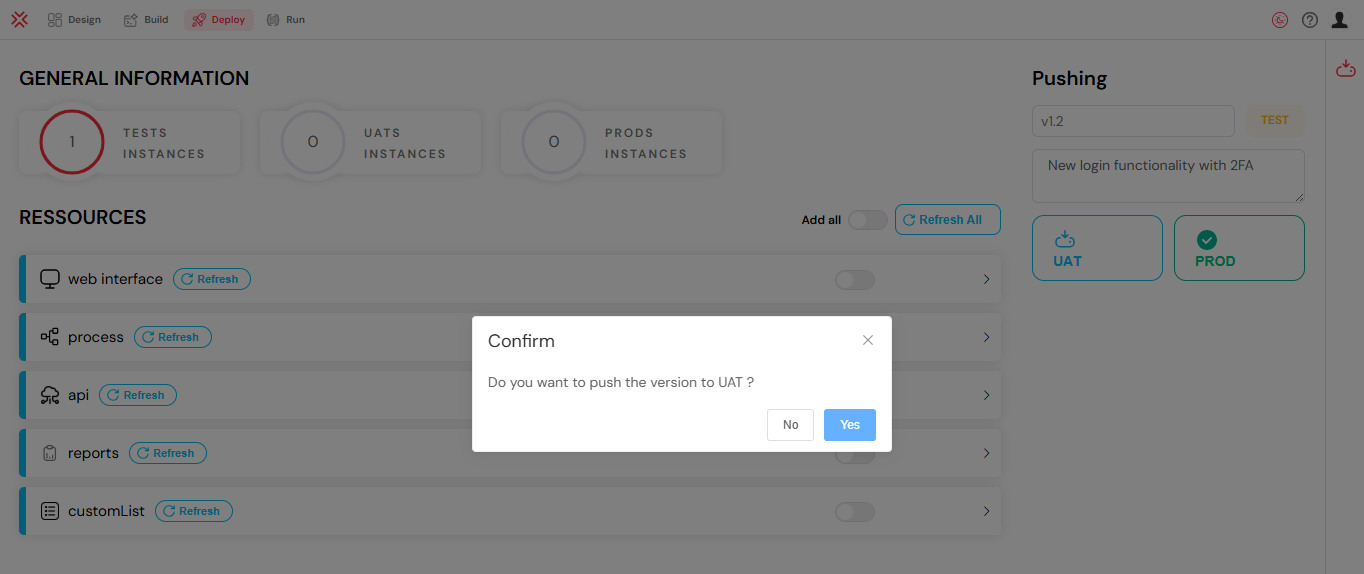
Confirmation dialog for pushing a version to UAT.
3.4. PROD Environment (Production)
Purpose: Live operational use.
After successful validation in UAT, the version is ready for the PROD environment. This is the live environment accessed by end-users. The process begins by selecting the "Push to PROD" option for a UAT-validated version.
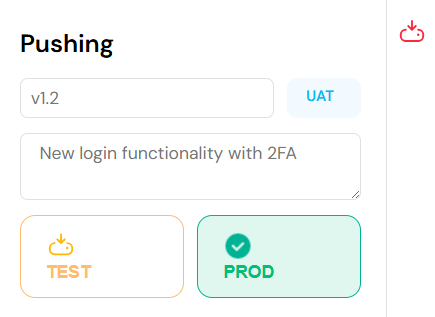
Initiating the push of a version to the PROD environment.
A final confirmation is required before deploying to production. This safeguard ensures that only fully tested and approved versions are released.
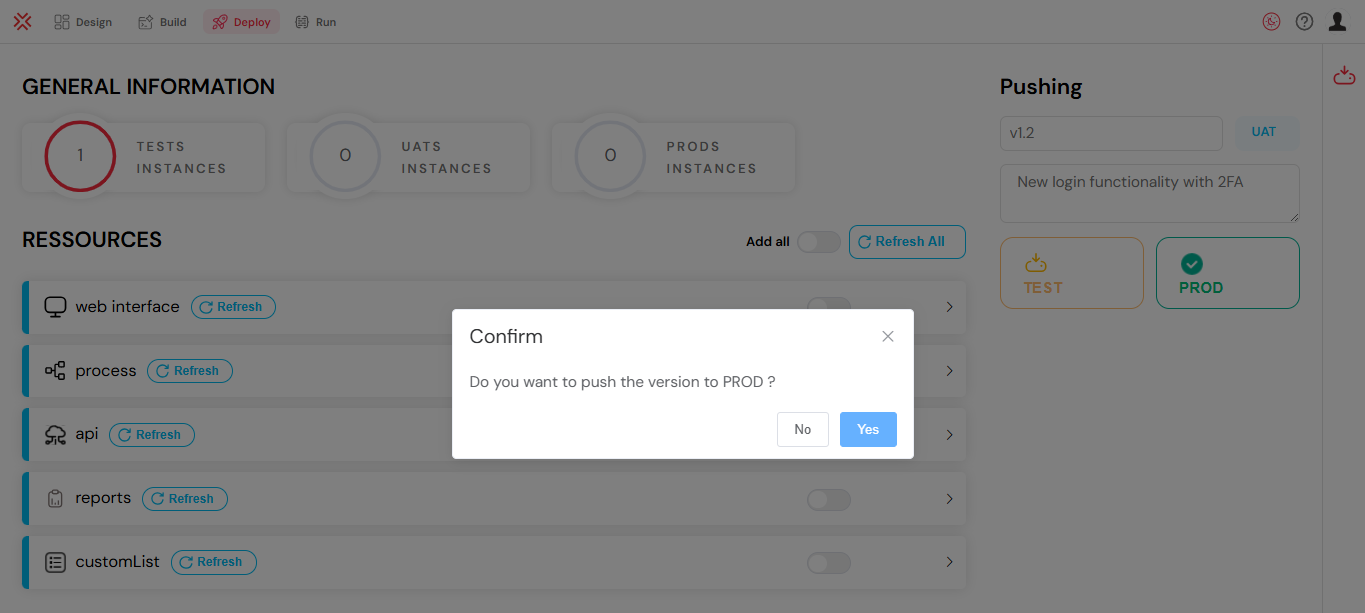
Final confirmation for deploying a version to PROD.
Once deployed, the version's status is updated to "PROD" in the version management list, providing a clear overview of what is currently live. The system also flags the associated components as being in production.
Version list showing the version successfully deployed to PROD.
4. Advanced Version Management Features
4.1. Version History and Comparison
Softyflow provides a detailed history for each version, allowing you to track its lifecycle across environments. The comparison feature enables you to see the differences between versions, which is essential for auditing and debugging.
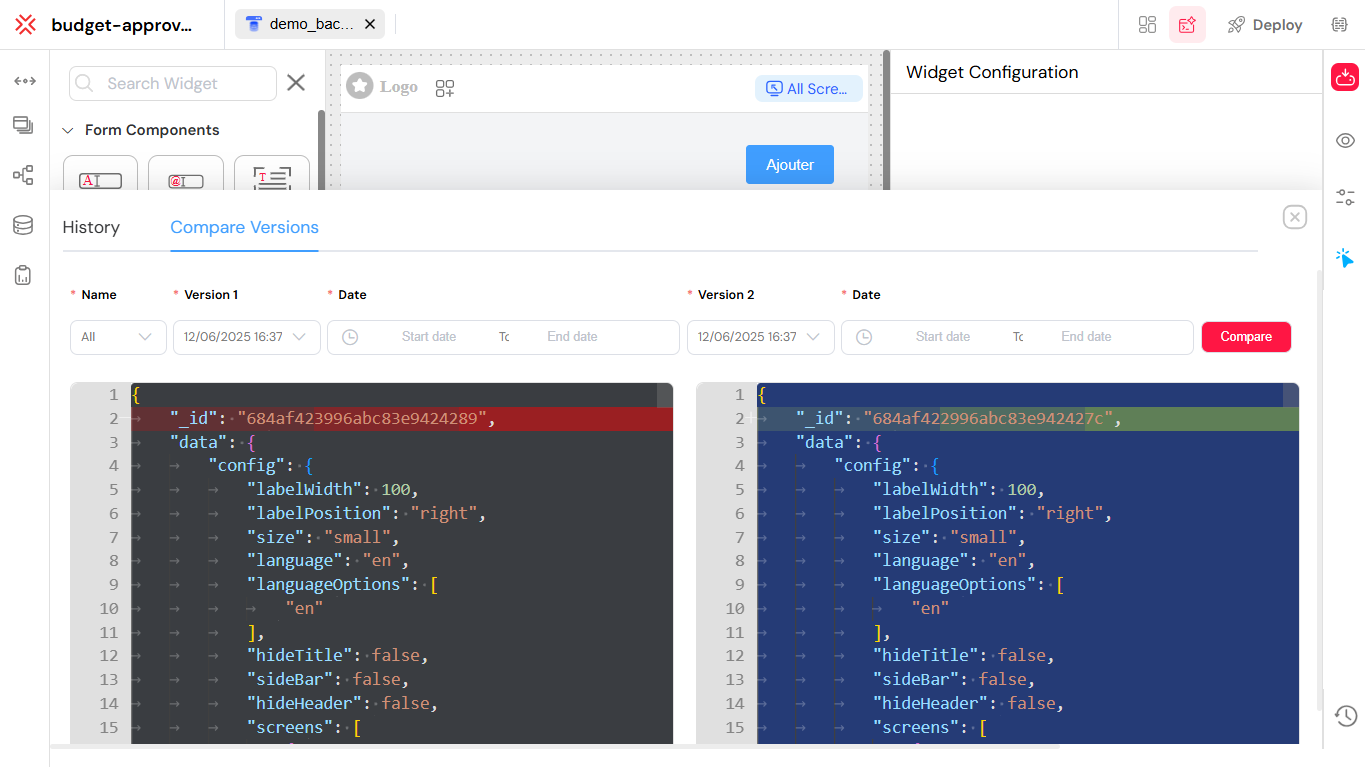
Interface showing version history and comparison features.
4.2. Version Status Tracking
The system offers real-time status tracking, giving you a centralized view of where each version is deployed. This dashboard is critical for managing multiple application versions across the TEST, UAT, and PROD environments simultaneously.
Dashboard for tracking the status of versions across environments.
4.3. Instance Management
You can track running instances of processes and applications across all environments. This view helps in monitoring performance, identifying issues, and managing active sessions in both testing and production environments.
Interface for managing and monitoring running instances.
5. Deployment Workflow
5.1. Version Promotion
Version promotion is the mechanism for moving an application through the deployment pipeline. The interface provides clear options to promote a version from TEST to UAT, and then from UAT to PROD, ensuring a controlled and orderly process.
Visual of the version promotion process.
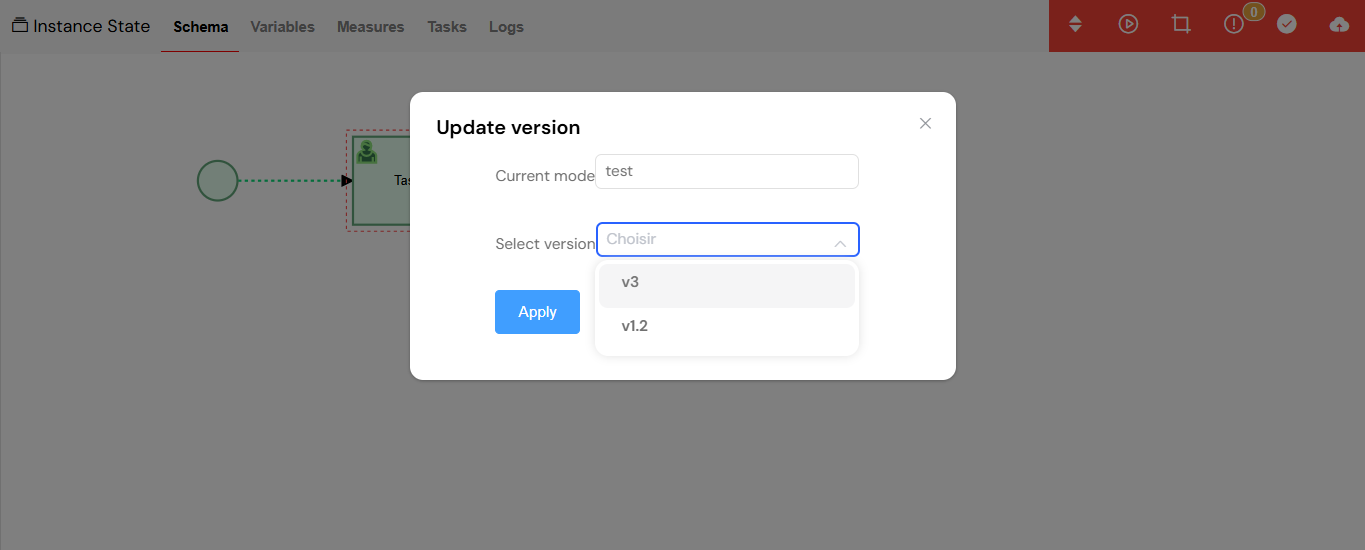
5.2. Rollback Capabilities
In case of issues in production, Softyflow supports rolling back to a previous, stable version. This feature is critical for maintaining system reliability and minimizing downtime. The interface allows you to select a past version and redeploy it quickly.

Interface for rolling back to a previous version.
6. Best Practices
6.1. Version Naming Conventions
- Use semantic versioning:
v1.2.3 - Include feature descriptions:
Login-Enhancement-v1.2 - Add environment indicators:
UAT-Release-2024.01
6.2. Testing Strategy
- Unit Testing: Test individual components in TEST
- Integration Testing: Validate component interactions in UAT
- User Acceptance: Business validation in UAT
- Production Monitoring: Continuous monitoring in PROD
6.3. Deployment Safety
- Always test in TEST environment first
- Validate in UAT before PROD deployment
- Maintain rollback plans for PROD deployments
- Monitor system health after deployments
6.4. Version Control
- Create meaningful version descriptions
- Tag important releases
- Maintain version history
- Document breaking changes
Next Steps
Now that you understand testing and deployment, continue with production management:
- Monitor & Run - Monitor and manage your deployed applications
- Web Interface Design - Refine your interfaces based on testing feedback
- Process Design - Optimize your processes based on production data
- Database Integration - Scale your database integrations for production
- Integration - Monitor and maintain your external integrations
- Reporting - Create production reports and dashboards
For production security, review our authentication, user management, and role management guides.
For ongoing maintenance, explore system logs and our video tutorials for best practices.