Generate PDF
1. Introduction to PDF Generation
The Generate PDF module is a powerful feature that enables the creation of dynamic, data-driven PDF documents. These documents can be populated with variables and dynamic tables, making them ideal for generating reports, invoices, certificates, and more. PDFs can be generated within both the Process Modeler and the Web Modeler, providing flexibility for various use cases.
2. Creating a PDF Template
The first step is to design a reusable template. This template defines the structure, layout, and static content of your PDF.
To begin, navigate to the PDF section and click the Create a PDF button.
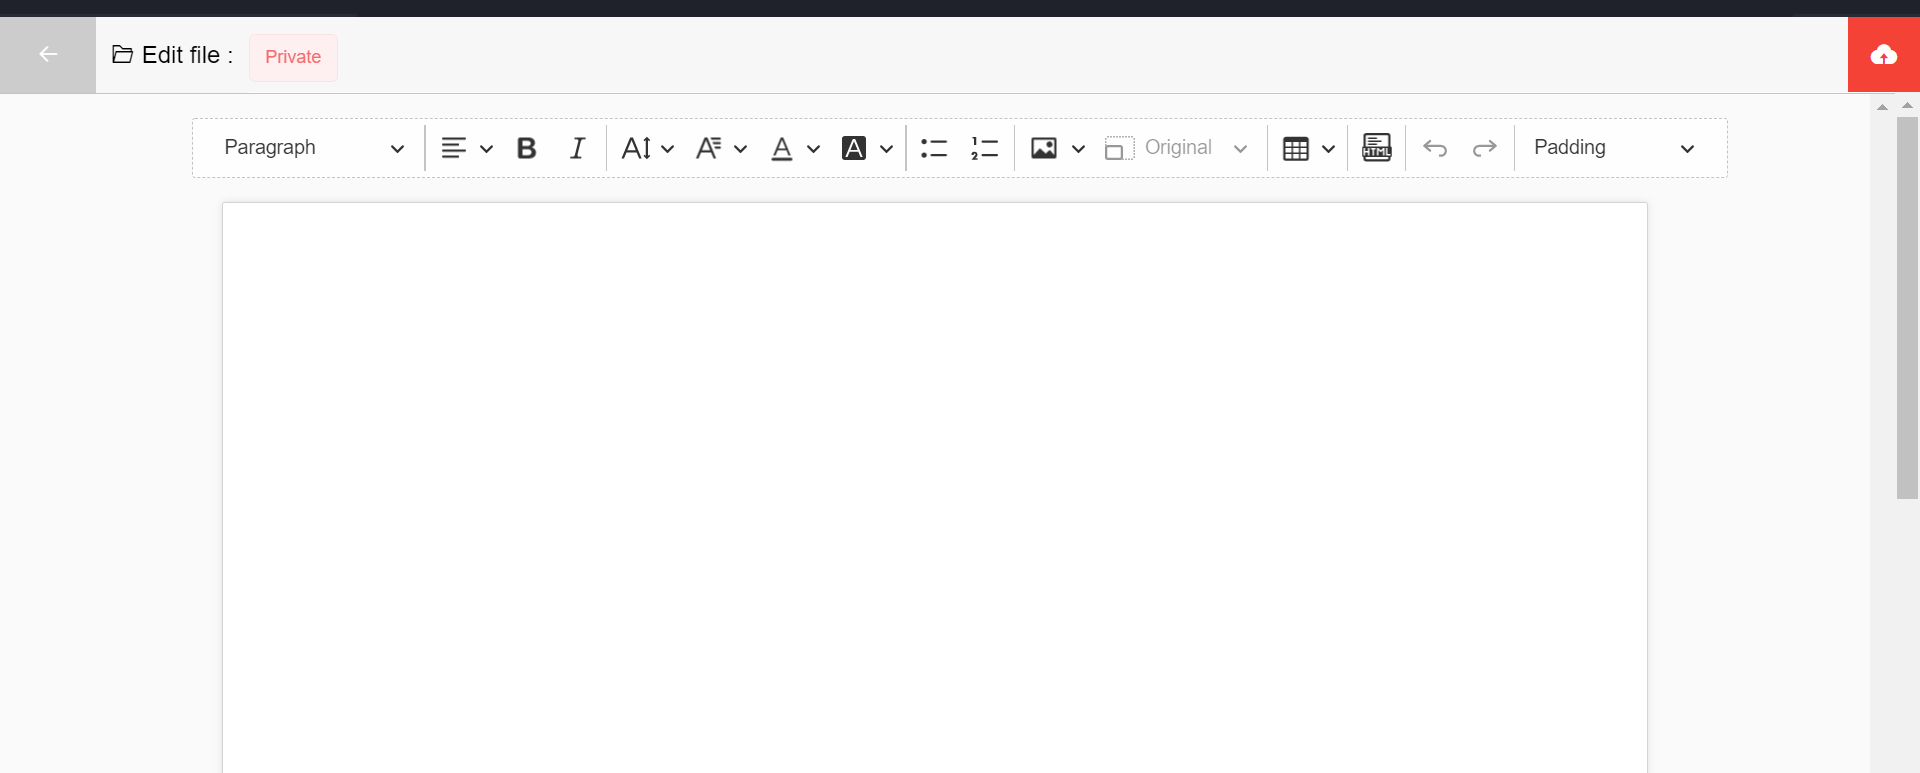
2.1. The PDF Editor Interface
The editor is composed of two main parts: a toolbar at the top and the main editing canvas below.
2.1.1. Toolbar Explained
The toolbar provides all the necessary tools for designing your template:
- Padding: Adjust the space between the content and the page border.
- Top, Bottom, Left, Right: These CSS-based properties control the padding for each side of the template.
- Insert Table: Allows you to add a table with a specified number of rows and columns.
- Insert Image: You can embed images either from a URL or by uploading a file from your local machine.
- Insert HTML: For advanced users, this opens an editor to insert custom HTML elements directly into the template.
- Text Styling: A rich set of options for formatting text:
- Headings (H1, H2, etc.)
- Text alignment (left, center, right)
- Emphasis (Bold, Italic)
- Font properties (size, family, color, and background color).
- List Types: Add ordered (numbered) or unordered (bulleted) lists.
2.1.2. Editing Canvas
This is the main area where you build your template. Before you start, it's essential to save your work and give the template a descriptive name.
3. Dynamic Content with EJS
To make templates dynamic, the editor uses Embedded JavaScript (EJS) syntax. This allows you to inject data into the PDF when it's generated. You can find comprehensive documentation on the official EJS website.
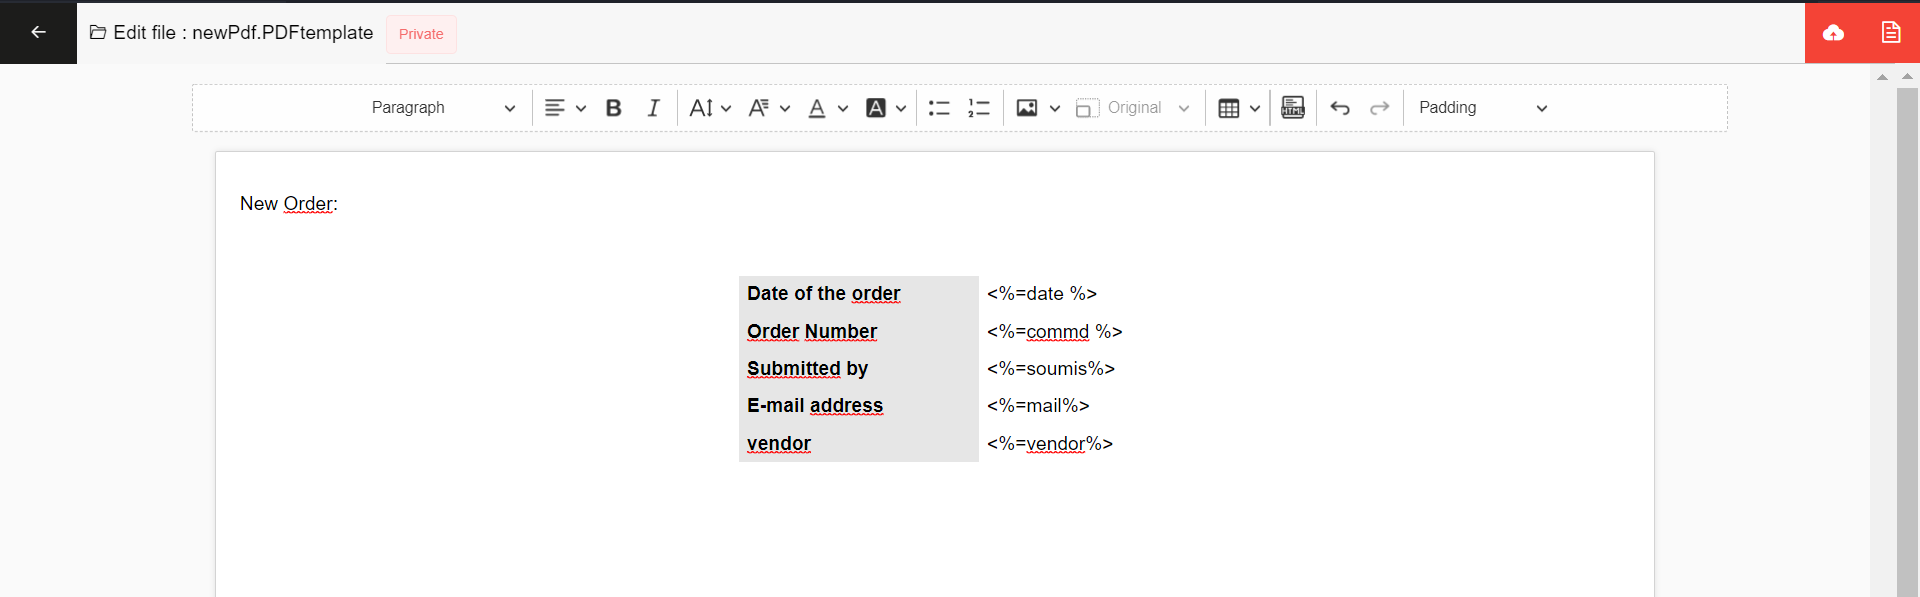
3.1. Using Variables
The most basic way to add dynamic content is by inserting variables. The syntax is straightforward:
<%= varName %>
Any variable passed to the generator can be referenced this way.
3.1.1. Example
Imagine you have an object with user data. Your template could look like this:
Name : <%=name%>
Age : <%=age%>
Country : <%=country%>
When the PDF is generated, <%=name%>, <%=age%>, and <%=country%> will be replaced with the actual values you provide.
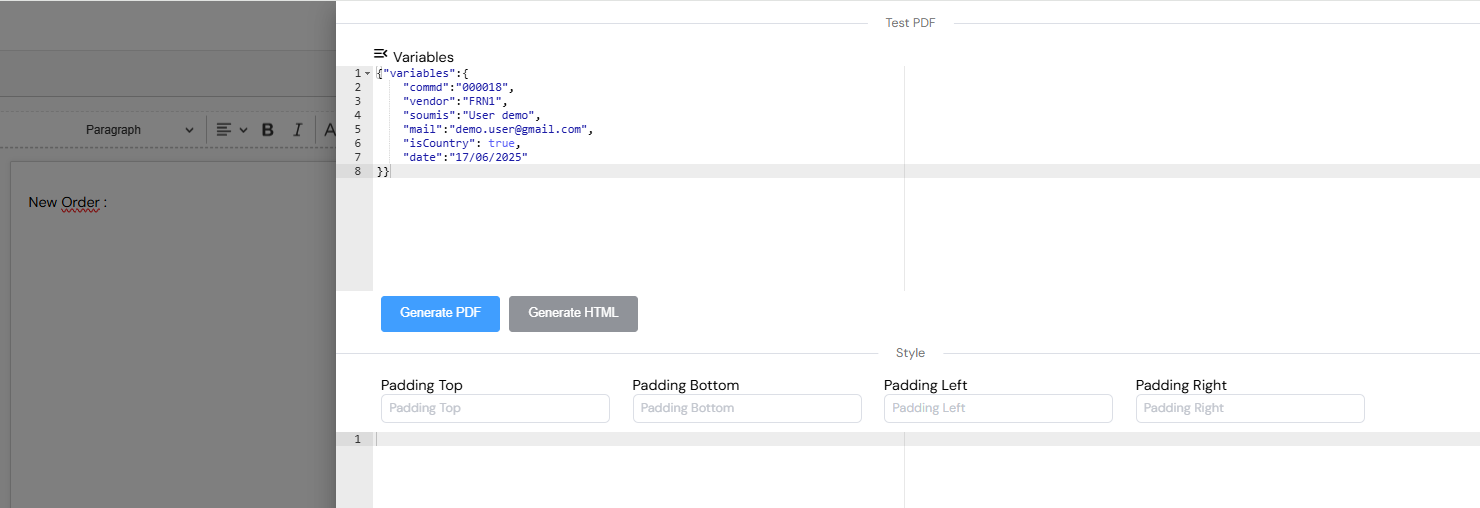
3.2. Live Preview and Testing
You can test your template without leaving the editor. Click the test icon in the top-right corner to open the Variables pop-up. Here, you can enter sample data for your variables and click Generate PDF to see a live preview.
4. Advanced Templating
Beyond simple variables, you can implement more complex logic, such as dynamic tables and conditional rendering.
4.1. Dynamic Tables
To populate a table with data from an array, you can use a special syntax. First, insert a table with at least two rows: one for the header and one for the data row template.
4.1.1. Example 1: Basic Table
| ID | Name | Age |
|---|---|---|
| #:tableData:# <%=row.id%> | <%=row.name%> | <%=row.age%> |
Let's break down this syntax:
#:tableData:#: This special tag identifies the data source for the table.tableDatashould be the name of an array of objects you provide. The tag must be enclosed in#: : #.<%=row.id%>: This is standard EJS syntax. The editor iterates over thetableDataarray, and for each item, it assigns it to a variable namedrow. You can then access the properties of each object (e.g.,row.id,row.name).
The row variable represents a single item from your data array during the loop. You can use it to access any property of the item.
4.1.1.1. Expected Result
Given an array of user objects, the table will dynamically generate a row for each user.
| Id | Name | Age |
|---|---|---|
| 1 | Adam | 50 |
| 2 | Sami | 35 |
| 3 | Ayoub | 10 |
Rendered table from the dynamic template.
4.1.2. Example 2: Table with Calculations
You can perform calculations directly within your template. For instance, you can calculate the maximum and minimum age from the table data.
| ID | Name | Age |
|---|---|---|
| #:tableData:# <%=row.id%> | <%=row.name%> | <%=row.age%> |
| Max Age | <%=Math.max(...tableData.map(item => item.age))%> | |
| Min Age | <%=Math.min(...tableData.map(item => item.age))%> |
4.1.2.1. Expected Result
| Id | Name | Age |
|---|---|---|
| 1 | Ayoub | 50 |
| 2 | Adam | 35 |
| 3 | Sami | 10 |
| Max Age | 50 | |
| Min Age | 10 | |
A dynamic table that includes calculated summary rows.
4.2. Custom Logic and Widgets
The full power of EJS allows you to create custom structures and conditional logic that go beyond the built-in toolbar widgets.
4.2.1. Example 1: Looping to Create Lists
You can iterate over an array to display data in a custom format, such as a list:
<% for (const item of data) { %>
  Name: <%= item.name %>
<% } %>
4.2.2. Example 2: Conditional Rendering
You can use if conditions to show or hide parts of the template based on a variable's value:
<% if (isInStock) { %>
  Product Name: <%= item.name %> is available!
<% } %>
5. Using Your PDF Template
Once your template is saved, you can generate PDFs in several ways:
5.1. Via an Action
Both the Process Modeler and the Web Modeler support a dedicated action for PDF generation.

To configure it, select PreviewPDF: (Generate PDF) from the list of actions. You will need to specify:
- Dump var: The variable that will store the generated PDF data.
- Template Name: The name of the PDF template you created.
- Context: An object containing the values for all the variables used in your template.
5.2. Via a Function (API Call)
For more programmatic control, you can call the PDF generation API directly from a script.
async function generateMyPdf() {
  const templateID = "YOUR_TEMPLATE_ID"; // The ID of your template
  const variables = {
    variables: {
      tableData: [
        { id: 3, name: "Saad", age: 10 },
        { id: 2, name: "Ahmed", age: 35 },
        { id: 1, name: "Fouad", age: 50 },
      ],
      country: "US",
      command: "000018",
      isExist: true,
      date: "08/05/2022",
    },
  };

  try {
    const response = await axios.post(
      `https://your-instance.softyflow.io/api/v1/files/generate/content/${templateID}`,
      variables
    );
    const pdfLink = `https://your-instance.softyflow.io/uploads/${response.data._id}/name/${response.data.filename}.pdf`;
    console.log("PDF generated successfully:", pdfLink);
    return pdfLink;
  } catch (error) {
    console.error("Error generating PDF:", error);
  }
}
Remember to replace your-instance.softyflow.io with your actual instance URL.