Settings
SoftyFlow's settings page offers an expansive interface, affording administrators the ability to configure diverse facets of the application development environment. This page serves as a central hub, facilitating system-wide preference management. Administrators can seamlessly access and modify user authentication, user metadata, logs, and other pivotal settings, empowering them to customize the platform according to their exact requirements.
To access the settings interface, click a menu from the left top pane, then select settings item or simply navigate to the path /ide/settings within the IDE. The personal settings page also includes a menu bar for easy access to settings tools.

Settings Tools
Overview
In the Overview tab the administrator can control over the visual appearance and customization of the user interface. The elements that can be subject to customization encompass the following :
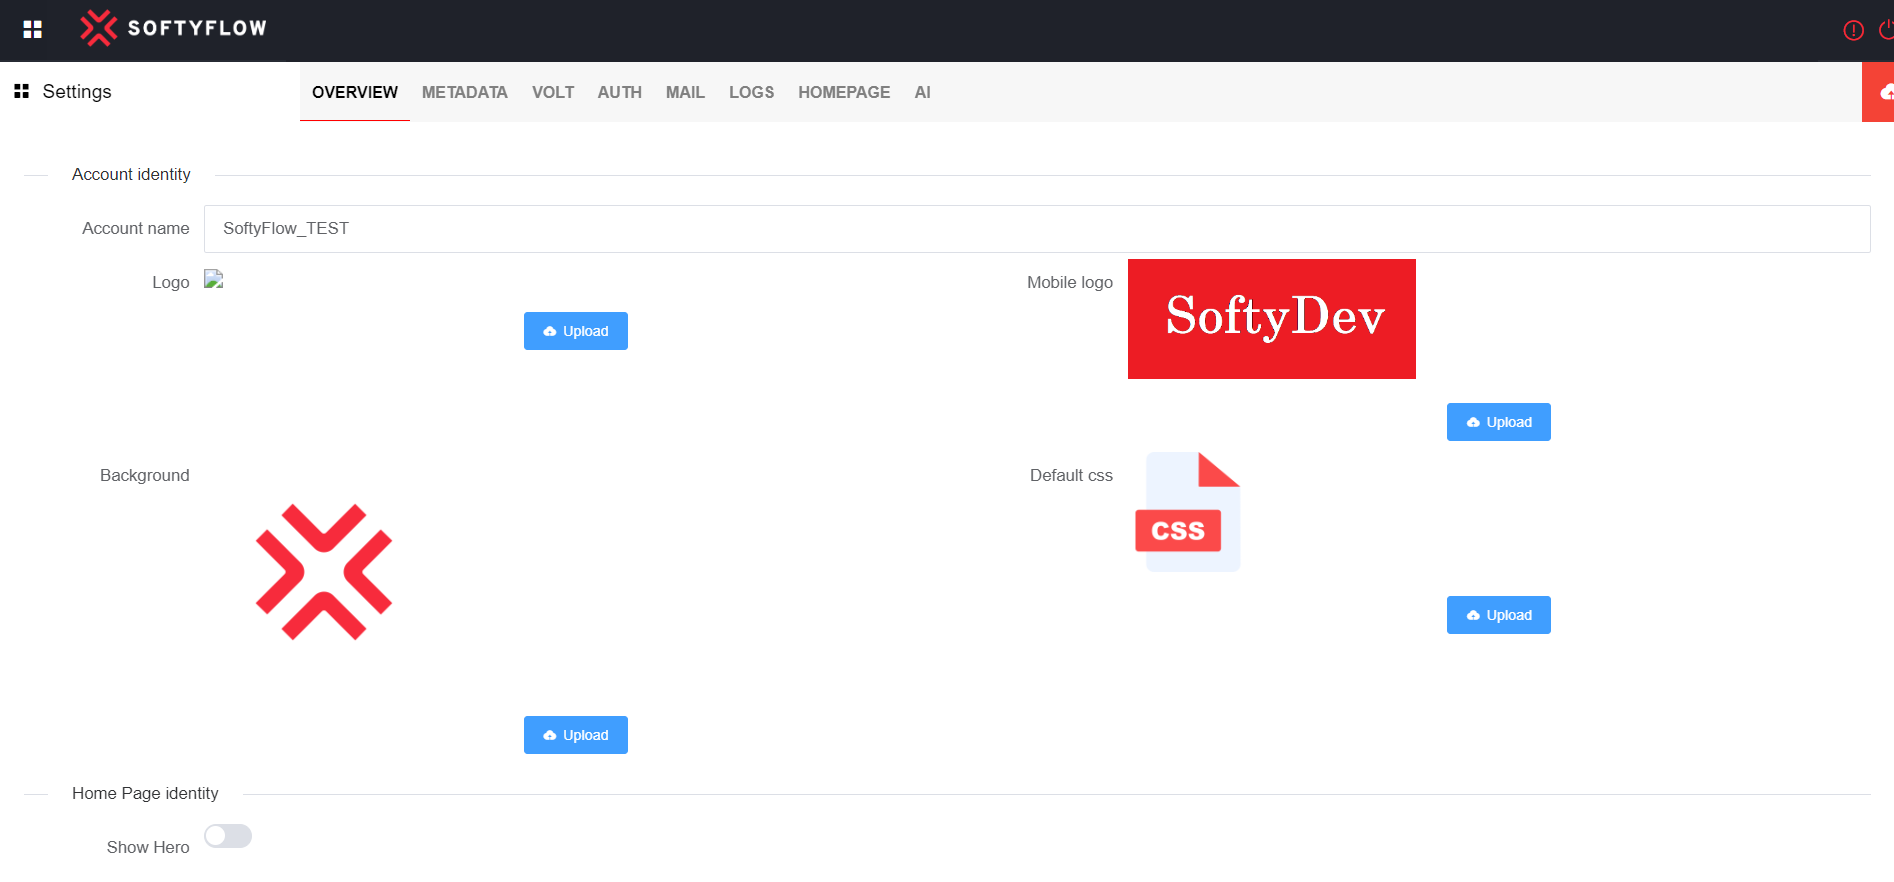
- Account identity
- Account Name: Assign a name to your account.
- Logo: The logo displayed within the browser interface.
- Mobile Logo: The logo displayed within the mobile interface.
- Background: The background image displayed on the login page within both the browser interface and mobile interface.
- Default css: This CSS style will be applied to all project interfaces by default.
- Home Page identity
- Show Hero: The switch button serves the purpose of displaying or concealing the banner located at the top of the Home Page.
- H1 Title: The initial heading displayed on the Home Page.
- H2 Title: The second heading displayed on the Home Page.
- Hero background url: The background image displayed in the Home Page.
- Versions
- Server Version: The most recent version of the server.
- IDE Version: The most recent version of the IDE.
MetaData
As an administrator, it is possible to append custom information in the form of attributes to individual users, allowing for enhanced data personalization and user specific details. This custom information called Metadata. Defining Metadata encompasses subsequent actions : create, update and delete a Metadata.
Create MetaData
To create a new metaData, navigate to the specified path /ide/metadata and then proceed to click on the plus icon button located at the upper-right corner of the interface.
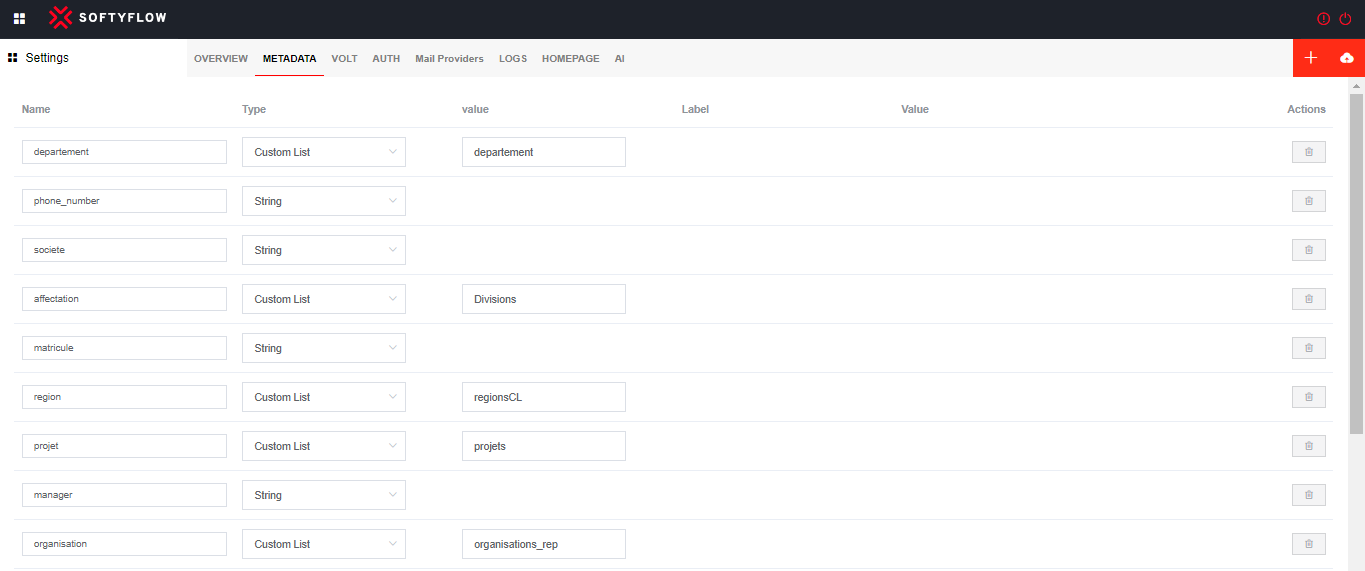
Creating a new metadata involves assigning the metadata name and the metadata type.
- Metadata types : String, Number, Boolean, Custom List, Custom List (Multi select), Collection, Collection (Multi select), User Picker.
- When selecting type Custom List, it is crucial to explicitly specify the name of the Custom List.
- When selecting type Collection, it is crucial to explicitly specify the name of the Collection, along with its corresponding label and value, as an essential requirement.

Update MetaData
To modify or update a metadata, you can access the designated path /ide/metadata, initiate a search for the desired meatada, and in the same interface of metadata list, you have the possibility to modify all the fields associated with the metadata such as name, type. After making the necessary adjustments, select the save button located to the upper-right top corner of the interface to keep the changes.
Delete MetaData
To delete a metadata, you can access the designated path /ide/metadata, perform a search for the specific metadata you wish to remove, and subsequently click on the trash icon button situated in the last column of the metadata list table.
LOGS
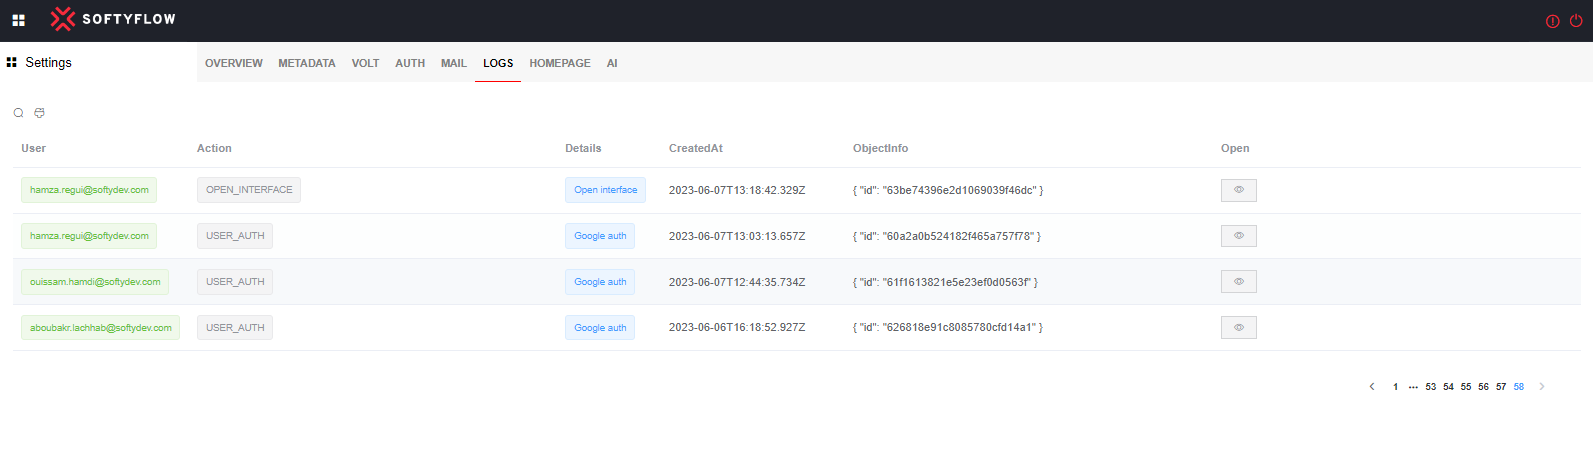
As an administrator, it is feasible to monitor the logs of the platform by accessing the designated path /ide/logs. Logs capture relevant data are the following:
- User: The email address of the user who initiates the action.
- Action: The action initiated by the user.
- Details: Elaborate information pertaining to the action is provided.
- CreatedAt: Start date of the action.
- ObjectInfo: JSON object that is unique to each action, containing specific information pertaining to that particular action.
- Open: Click on this button to access more details about about ObjectInfo.
HOMEPAGE
The administrator have the ability to establish regulations governing access control to applications that reside on the Home Page by accessing the designated path /ide/header.
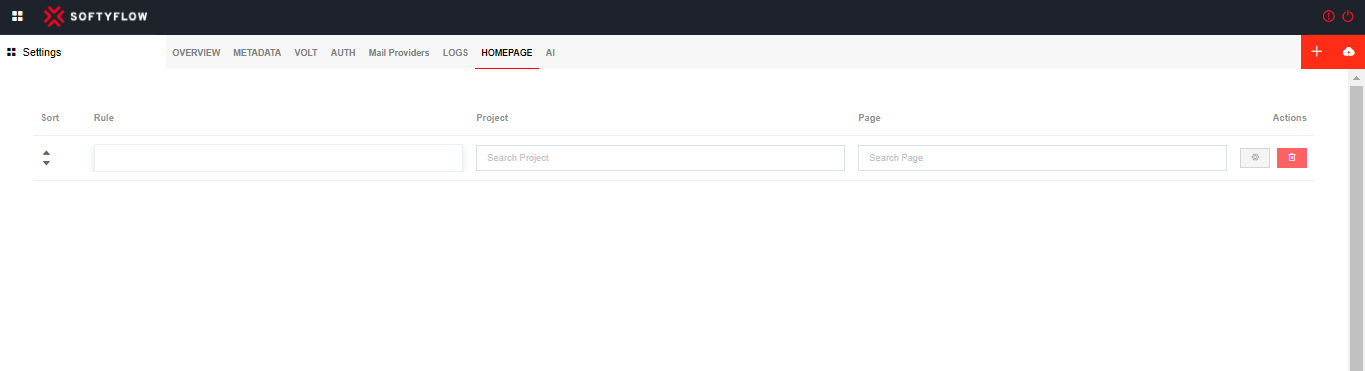
Create new rule
Within SoftyFlow, the establishment of a rule is a seamless procedure enabling administrators to precisely delineate regulations. To initiate the rule creation, kindly adhere to the subsequent guidelines:
- Navigate to the relevant section, such as /ide/header. Click on the plus icon button located in the upper top right corner of the interface.
- Locate the rule you wish to configure in the HOMEPAGE interface.
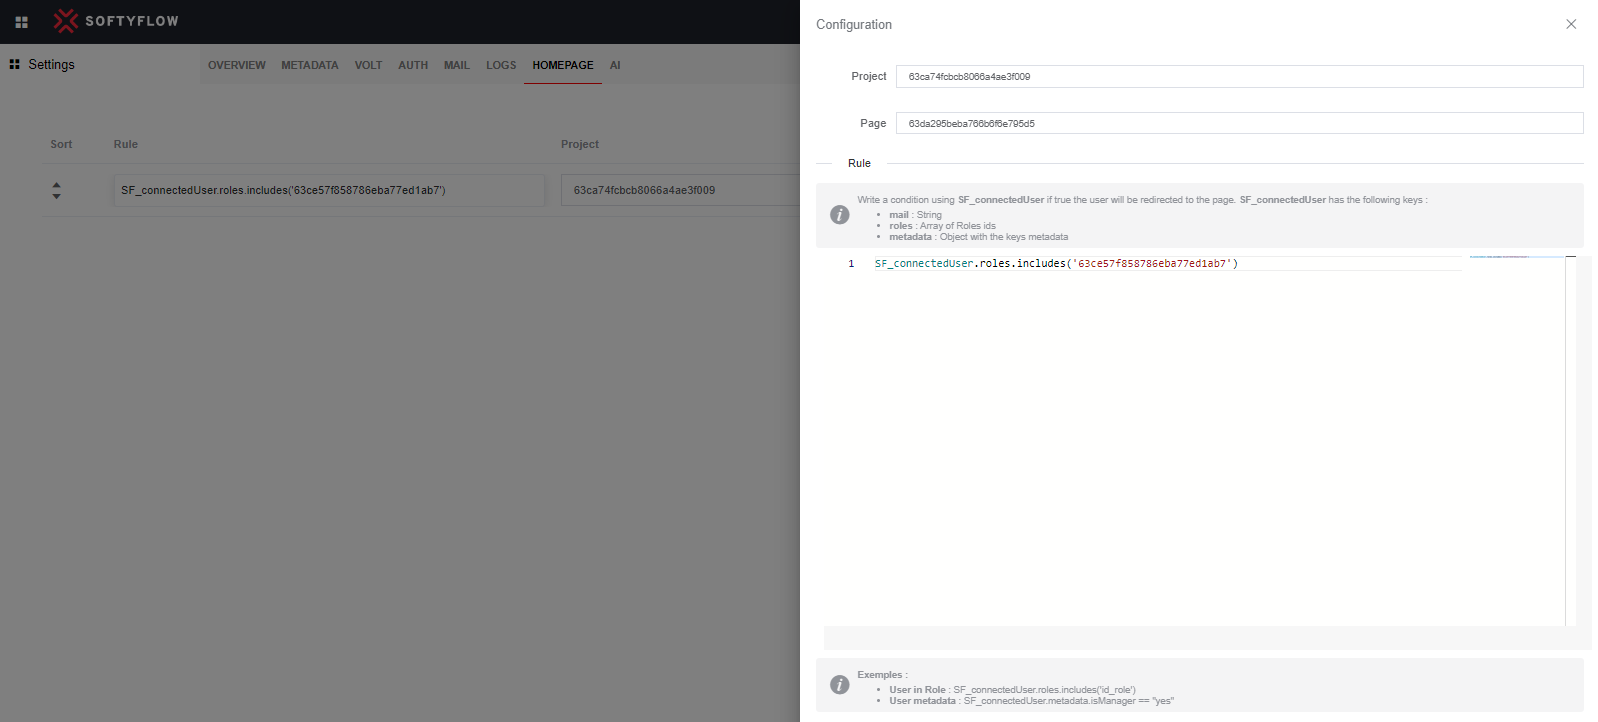
- Click on the settings icon button in the right of the created item to open the slider associated with their configuration. This slider provides a comprehensive view of the configuration parameters:
- Project: The designated project to which you intend to implement the rule.
- Page: The redirect page to which the user will be redirected when the rule comes into effect.
- Rule: In this section you determine the specific parameters and conditions constituting the rule itself.
- After making the necessary adjustments, click on save button.
Update a rule
To modify or update a rule, you can access the designated path /ide/header, initiate a search for the desired rule, and in the same interface of rule list, you have the possibility to modify the rule configuration. After making the necessary adjustments, select the save button located to the upper-right top corner of the interface to keep the changes.
Delete a rule
To delete a rule, you can access the designated path /ide/header, perform a search for the specific rule you wish to remove, and subsequently click on the trash icon button situated in the last column of the rule list table.
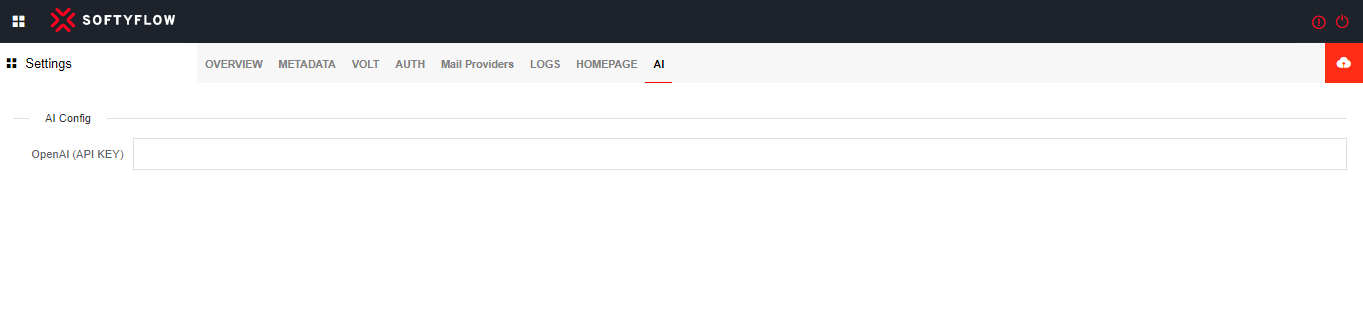
AI
In order to streamline and expedite workflow within SoftyFlow, this platform has seamlessly integrated an AI module. This module serves various purposes, such as facilitating the creation of queries on MongoDB and assisting with a multitude of other tasks, significantly enhancing efficiency and productivity.
To gain access to AI models developed by OpenAI, it is imperative to utilize an API Key as a prerequisite for authentication and authorization.